
User Manual V-5.1.0
Overview
true-Broker enables UBS customers to automatically exchange data with B2B applications of UBS over the Internet. true-Broker Web is responsible to establish a secure communication with the UBS Web-Portal. The communication is secured using 128bit SSL/TLS with certificate based authentication.
true-Broker Web is a Web application running on an Apache Tomcat server.
true-Broker Web is multi-client capable. true-Broker Web Administration may be used to manage the client instances of true-Broker Web. For each client a specific true-Broker Web application instance is deployed on Apache Tomcat which separates it from the other clients.
The configuration of each true-Broker Web client instance is held in an internal data base.
true-Broker Web additionally offers a Web service interface for real time message exchange. The supported operations of the Web service interface are:
- Check the connection to the target system
- Transfer a message from the client system to the target system
- Check the status of a sent message
- Receive a message from the target system
System Requirements
Operating systems
- Microsoft Windows Server 2016 x64 or higher
- Microsoft Windows 10 x64
Software
- true-Broker Web 5.x
- Token middleware (optional)
- SafeNet Authentication Client 10 or higher
Hardware
- 20 GB free hard disk
- 4 GB RAM
- free USB port (optional)
- Token (optional)
Other
- Administrator rights
- https access to the Internet (proxy configuration parameters if required)
- Unbound local port 8645 and 8646
- Firewall allowing connections to https://localhost:8646
Installing true-Broker Web
The true-Broker Web installation is based on Windows Installer Packages. Please navigate to the TrueBrokerWeb.msi.

Double-click the TrueBrokerWeb.msi to start the installation process.
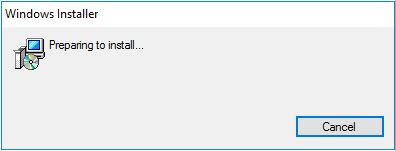
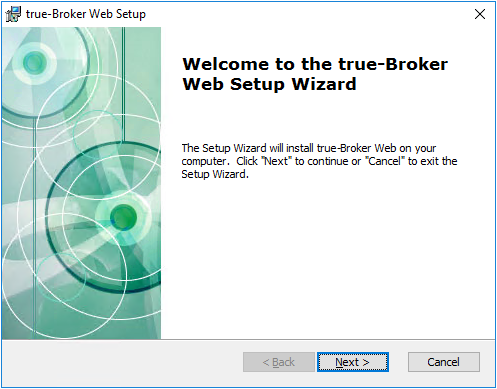
Press Next to continue or Cancel to abort the installation process.
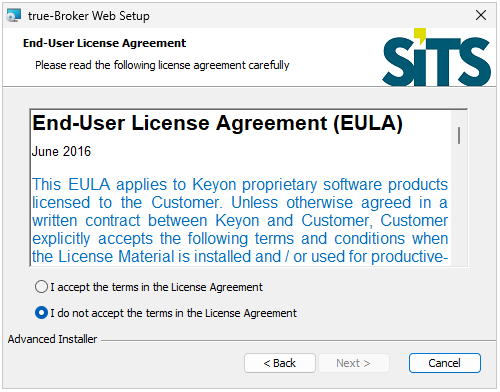
Please accept the EULA to use true-Broker. Press Next to continue.
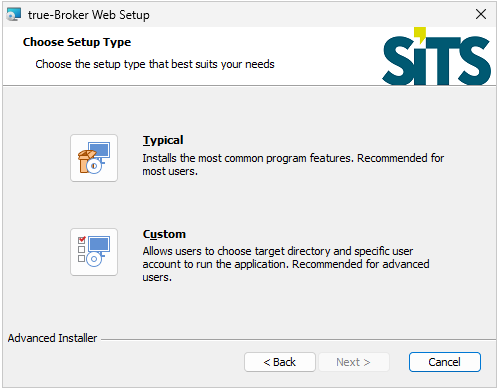
Please select Typical to install true-Broker with default parameters. Press Next to continue.
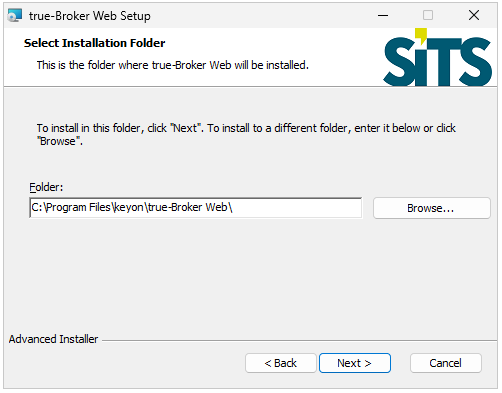
In case you choose Custom
Please select the folder where to install true-Broker Web. Press Next to continue.
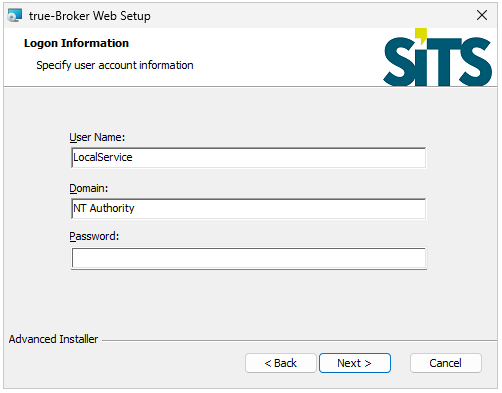
In case you choose Custom
Please enter the User under which true-Broker should be executed. Or leave the default LocalService user. Press Next to continue.
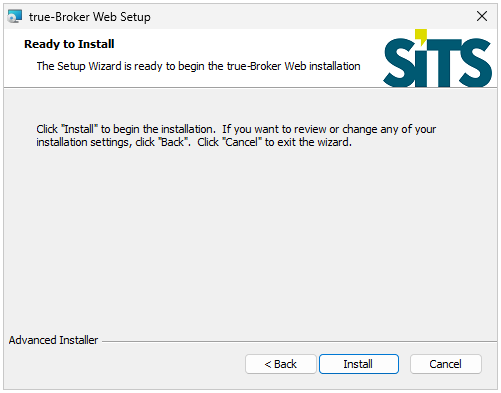
Click Install to start the installation.
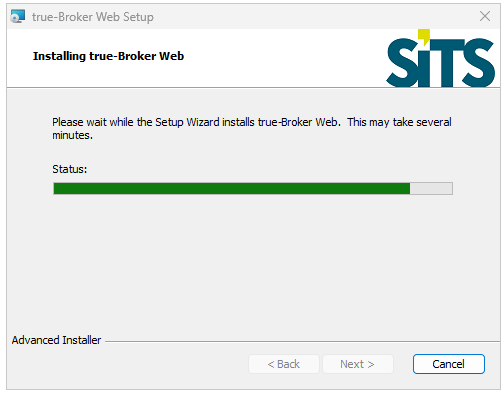
The installation process copies the necessary files to the previously defined installation directory, installs Apache Tomcat as a Windows Service and starts it.
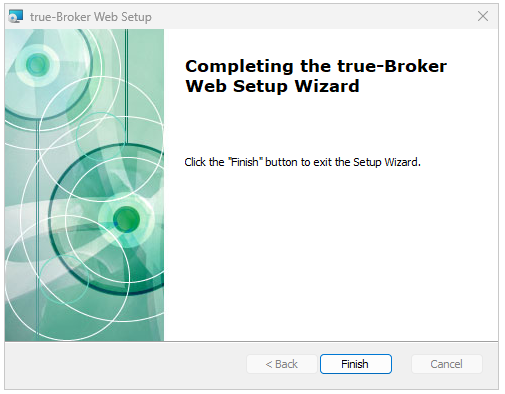
Press Finish to end the installation process.
Updating true-Broker Web
Using Check for Updates
Use the Check for Updates menu item in the keyon → true-Broker Web menu to start the update process.
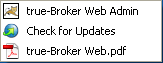
The update process checks online whether updates are available. The update process uses the Internet Explorer connection settings to establish a connection to the update page using http. The update page is located on https://www.keyon.ch.
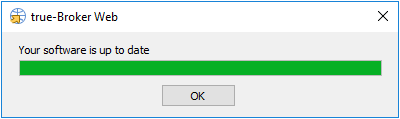
If your true-Broker Web Installation is up to date the following message window is displayed.
If an update is available, the following window is displayed.
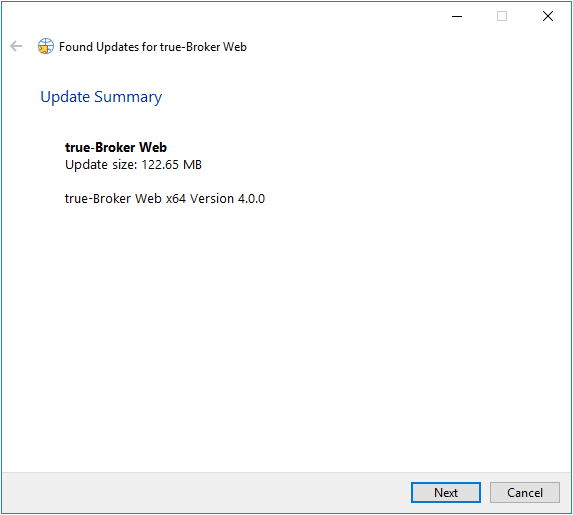
Press Next to start the update process.
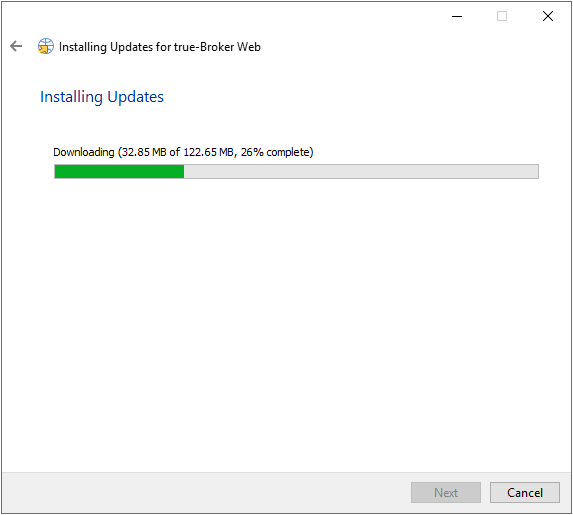
The update process downloads the patch and starts the patch installation process.
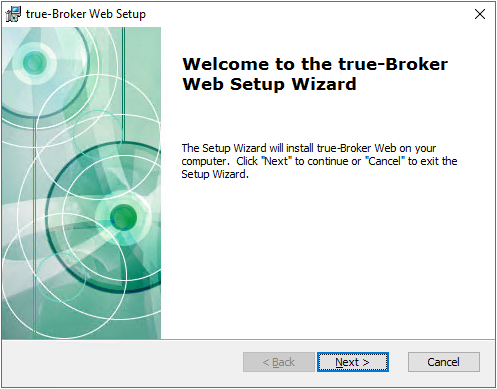
Press Next to start the patch install process.
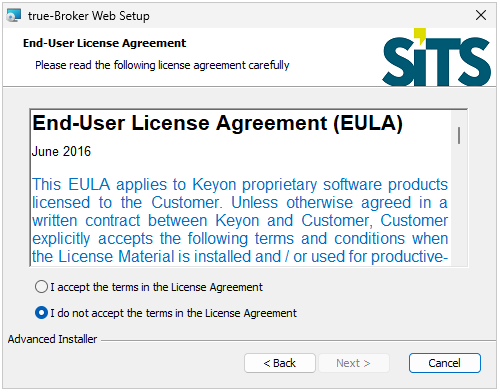
Please accept the EULA to use true-Broker. Press Next to continue.
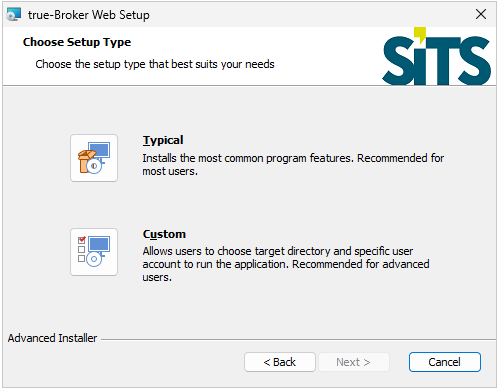
Please select Typical to install true-Broker with default parameters. Press Next to continue.
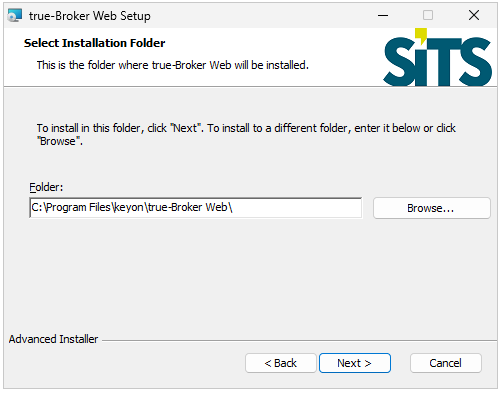
In case you choose Custom
Please select the folder where to install true-Broker Web. Press Next to continue.
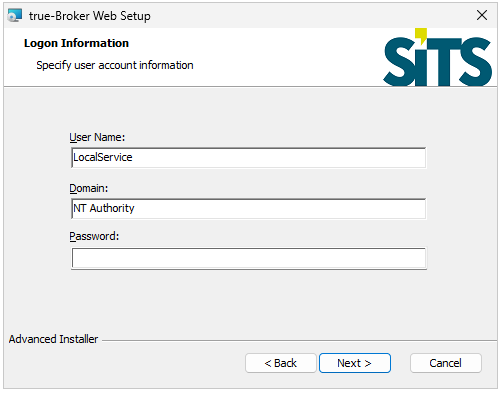
In case you choose Custom
Please enter the User under which true-Broker should be executed. Or leave the default LocalService user. Press Next to continue.
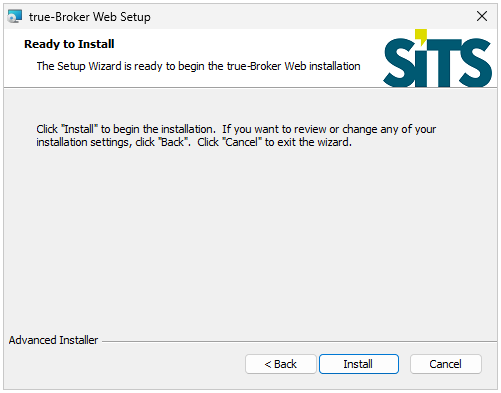
Click Install to start the installation.
| The database holding the true-Broker Web configuration will not be changed during the patch installation process. |
|---|
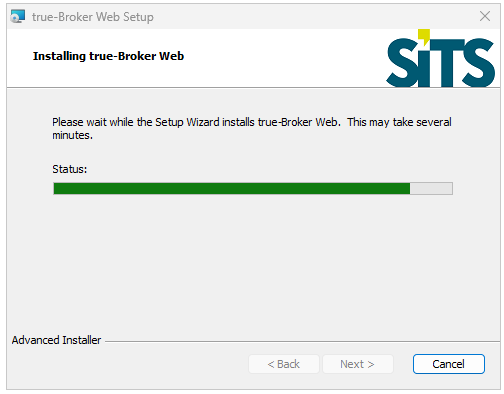
During the patch installation process the Apache Tomcat Windows service is stopped and the new files are copied to the installation directory.
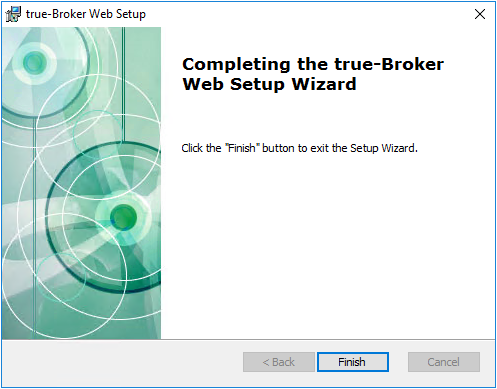
Press Finish to terminate the patch installation process. At the end of the patch installation process the Apache Tomcat Windows service is restarted.
True-Broker Web Windows service
The installation process tries to install true-Broker Web as a Windows service. The Windows service is named TrueBrokerWeb. If true-Broker Web has been installed as a Windows service, you can use the Microsoft Services Console to administrate the service.
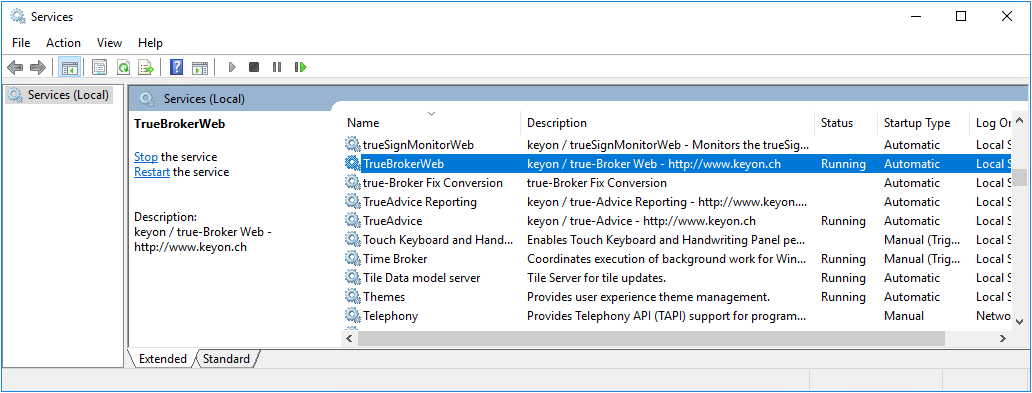
To install true-Broker Web as a Windows service Administrator rights are needed.
Configure true-Broker Web Windows service
Before changing the true-Broker Web Windows service configuration stop the service using the Microsoft Services Console.
To change the true-Broker Web Windows service configuration open the file:
C:\Program Files\keyon\true-Broker Web\trueBrokerWeb.ini
On an operating system with UAC enabled run the editor as administrator.

\[Application\]
Application Type=service

Override WorkingDir=yes

\[Product Information\]

Upgrade Code={742F478B-345E-4FD7-98D5-91BEBB77E61B}

Product Code={74B7B5B0-15C0-4C0F-B8EE-90FAAF5237D8}

Product Name=true-Broker Web

\[Class Path\]

Class Path=C:\\Program Files\\keyon\\true-Broker Web\\server\\bin\\\*.jar;C:\\Program Files\\keyon\\true-Broker Web\\server\\lib\\\*.jar;

\[Java Runtime Environment\]

JRE Path=C:\\Program Files\\keyon\\true-Broker Web\\jre64\\

Main Class=ch.keyon.advancedinstaller.service.tomcat.AdvancedInstallerWin32ServiceTomcat

JVM Source=favor\_JDK

Virtual Machine Parameters=-Xms128M -Xmx1024M -Dderby.system.home="C:\\Program Files\\keyon\\true-Broker Web\\\\db" -Djava.util.logging.config.file="C:\\Program Files\\keyon\\true-Broker Web\\\\server\\conf\\logging.properties" -Djava.util.logging.manager=org.apache.juli.ClassLoaderLogManager -Djava.endorsed.dirs="C:\\Program Files\\keyon\\true-Broker Web\\\\server\\endorsed" -Dcatalina.base="C:\\Program Files\\keyon\\true-Broker Web\\\\server" -Dcatalina.home="C:\\Program Files\\keyon\\true-Broker Web\\\\server" -Djava.io.tmpdir="C:\\Program Files\\keyon\\true-Broker Web\\\\server\\temp" -Dsun.security.ssl.allowUnsafeRenegotiation=true -Dch.keyon.truebroker.admin.softtoken=false -Dch.keyon.truebroker.admin.test=false -Dch.keyon.truebroker.receiver.threadPoolSize=1 -Dcom.sun.xml.ws.fault.SOAPFaultBuilder.disableCaptureStackTrace=false -Dlogfile.lifetime.days=30 -Dch.keyon.truebroker.data.home="C:\\ProgramData\\keyon\\true-Broker Web\\" -XX:PermSize=128m -XX:MaxPermSize=256m

JVM Type=favor\_server

Library Path=C:\\Program Files\\keyon\\true-Broker Web\\server\\bin\\;

Maximum Version=1.6

Minimum Version=1.6
| Do not change these settings unless you are advised by SITS support to do so. |
|---|
Use the Microsoft Services Console to start the true-Broker Web Windows service.
Starting true-Broker Web Windows service
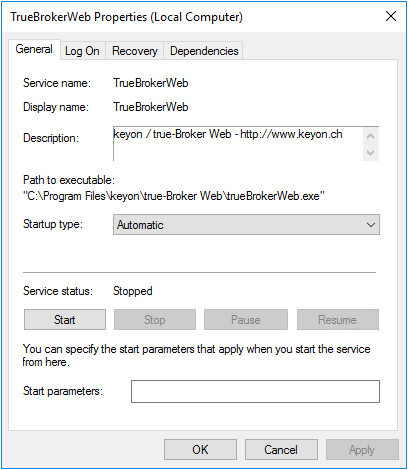
Start the true-Broker Web Windows service using the Microsoft Services Console.
Stopping true-Broker Web Windows service
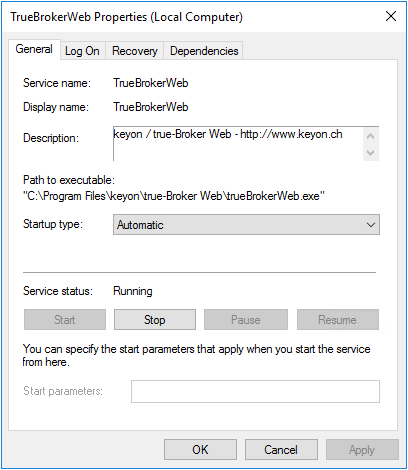
Stop the true-Broker Web Windows service using the Microsoft Services Console.
Daily restart of Apache Tomcat Windows service
The Apache Tomcat Windows service is daily restarted at 00:00. The Windows service is stopped at 00:00 and started at 00:15 AM.

You can change the restart settings in the Scheduled Task option of the Windows Control Panel.
True-Broker Web Windows console
Starting true-Broker Web as console
If you want to run true-Broker Web as a console application, run the following executable file:
C:\Program Files\keyon\true-Broker Web\trueBrokerWebConsole.exe
On an operating system with UAC enabled run the executable as Administrator.

True-Broker Web is starting as console application.
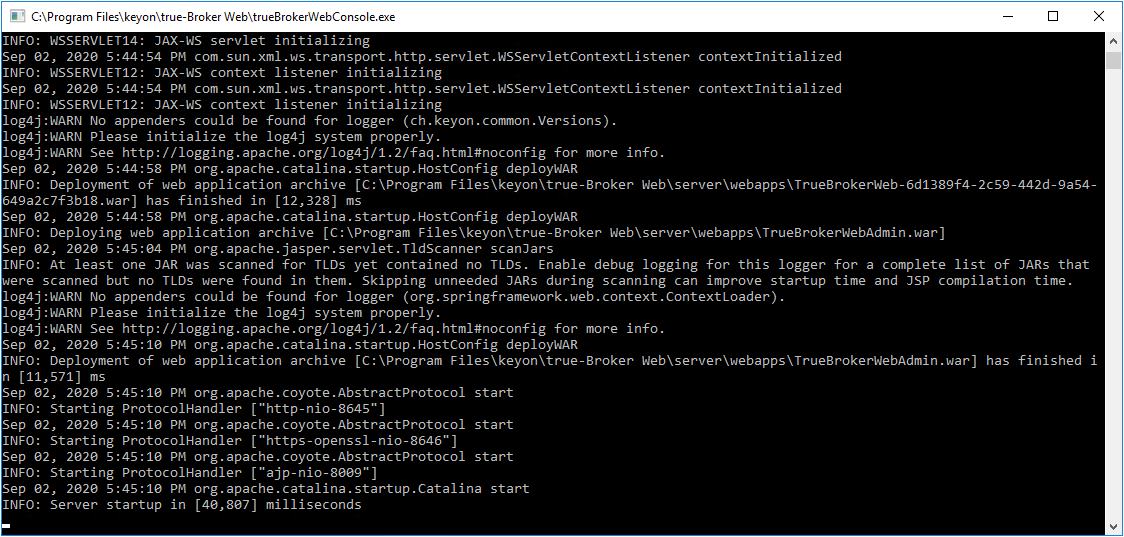
Stopping true-Broker Web console
If true-Broker Web is running as a console application, press Control-C in the console window to stop the application.
true-Broker Web Administration
true-Broker Web Administration is a web application running on an Apache Tomcat server. true-Broker Web is multi-client capable. Use the true-Broker Web Administration application to add or delete true-Broker Web client instances. If you add a new true-Broker Web client instance a new web application is deployed to the Apache Tomcat server.
The URL to access true-Broker Web Administration is:
https://localhost:8646/TrueBrokerWebAdmin
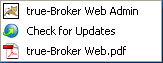
Use the link above or select the true-Broker Web Admin menu item in the keyon → true-Broker Web menu to open the URL above in your default browser.
Logon page
To get access to the true-Broker Web Administration Web application you have to login with a username and password.
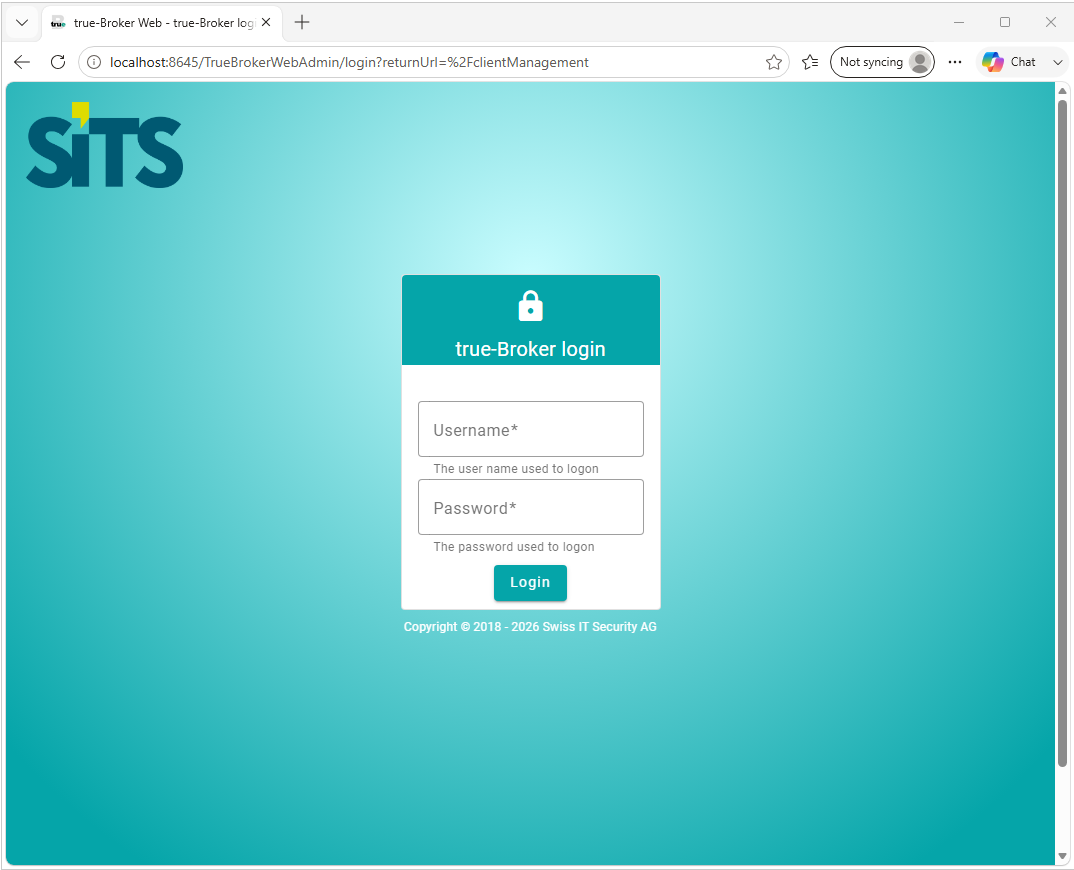
The default username is admin. The default password is 12345678.
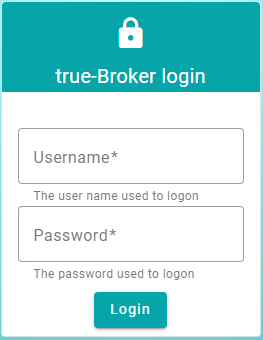
Press the Logon button to logon to the application.
You can change the administrator password using the Change password link.
Main page
The main page is used to configure the true-Broker Web clients. true-Broker Web is multi-client capable. For each client a new true-Broker Web application is deployed on the Apache Tomcat server.
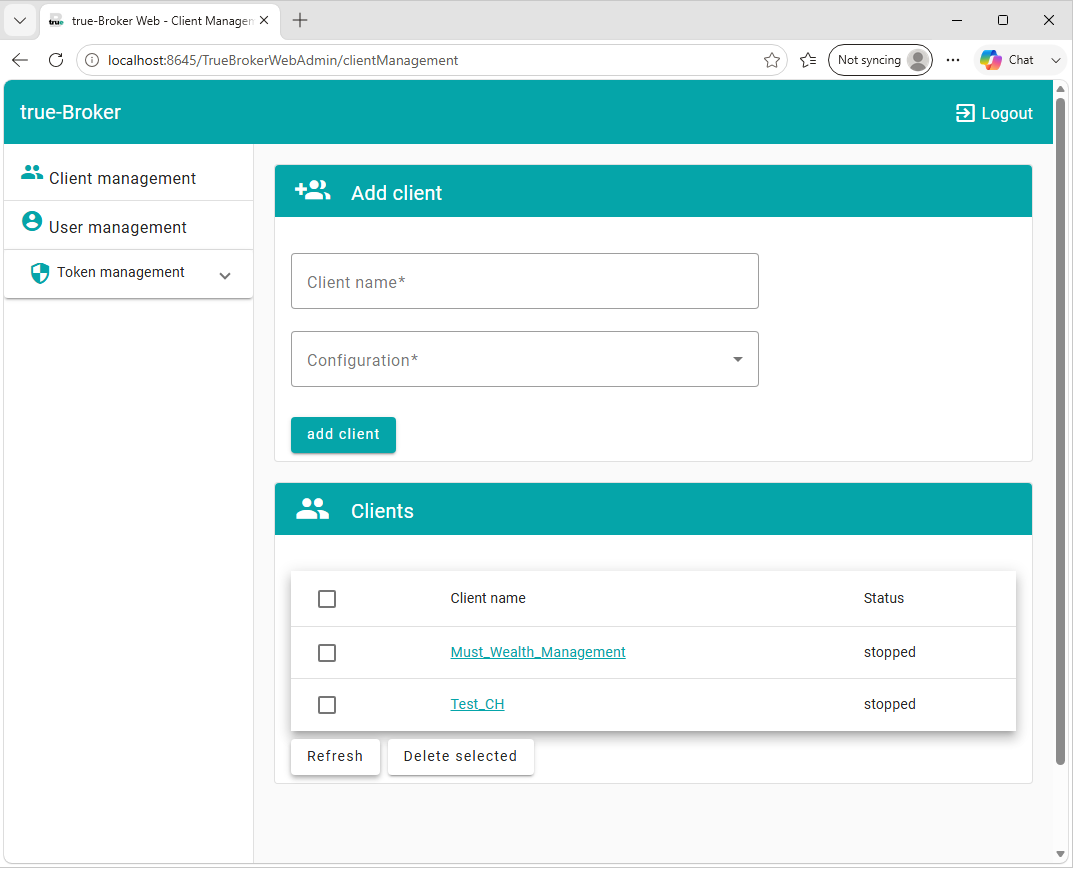
To add a new client, enter the client name, select the configuration and press the Add client button.
| Do not use any white spaces or special characters in the name of the client. |
|---|
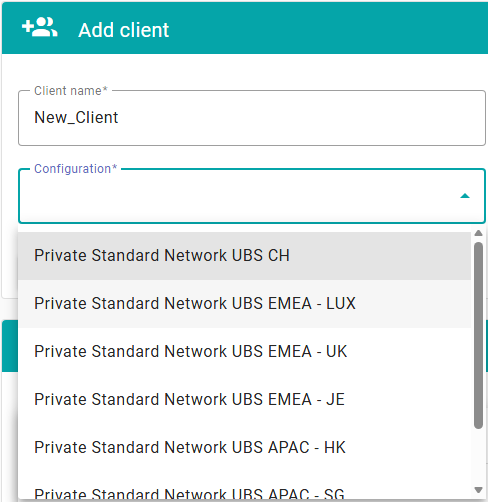
Adding a new client adds a new web application with the selected configuration to the Apache Tomcat server. Please choose the configuration depending on in which legal entity of UBS your accounts are booked.
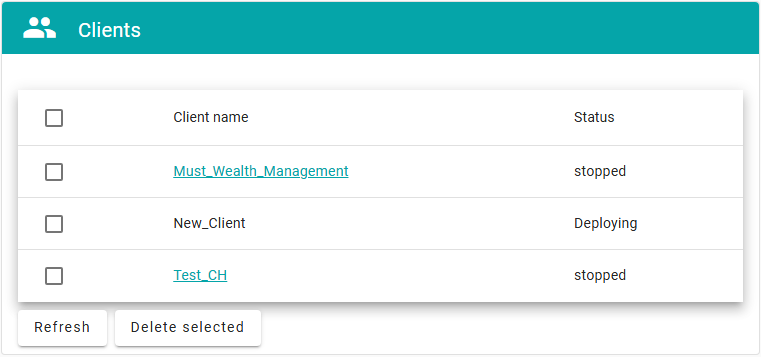
During the deployment phase the client web application cannot be selected. Select the Refresh button to refresh the page.
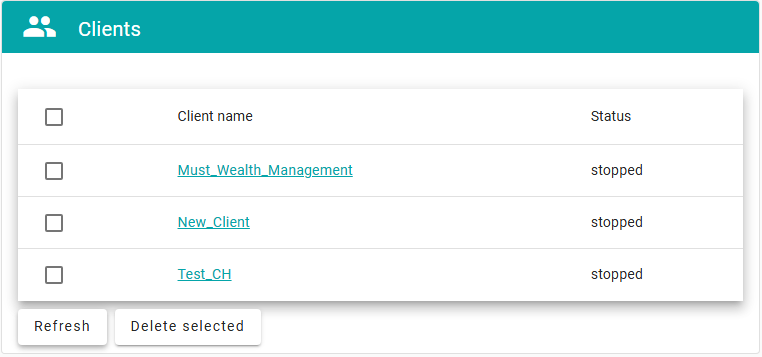
As soon as the client application is completely deployed to the Apache Tomcat server you can select the client application or use the link to get to the client true-Broker Web application.
| After the deployment of a new client, a restart of the TrueBrokerWeb-service is required |
|---|
To delete a client web application, select the web application and press the Delete selected button.
| Be aware that the configuration of the client web application will be deleted. Messages stored in the internal database are also deleted. Messages downloaded to the configured inbox are not deleted. |
|---|
Change password page
Use the User management link to change your password.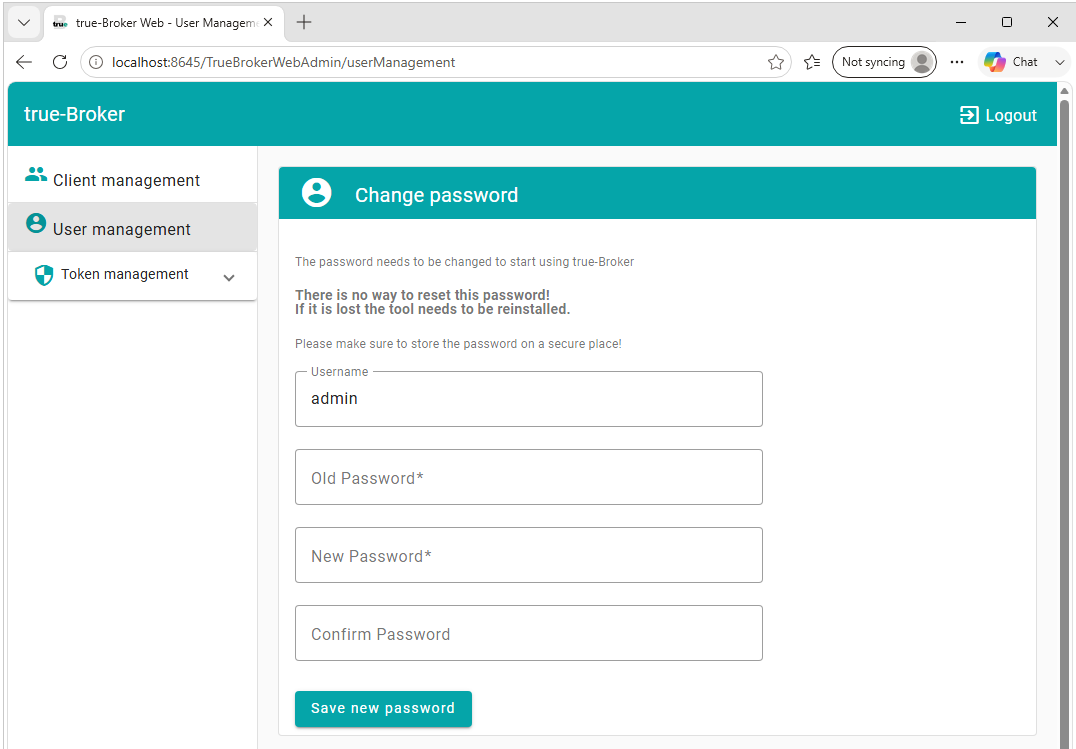
Enter the old password, the new password and confirm it.
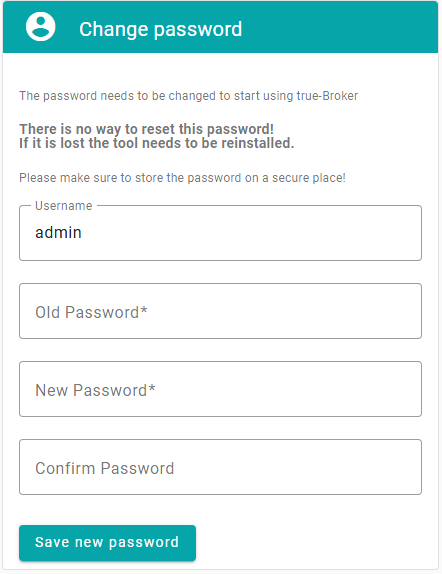
Press the Save new password button to change the password.
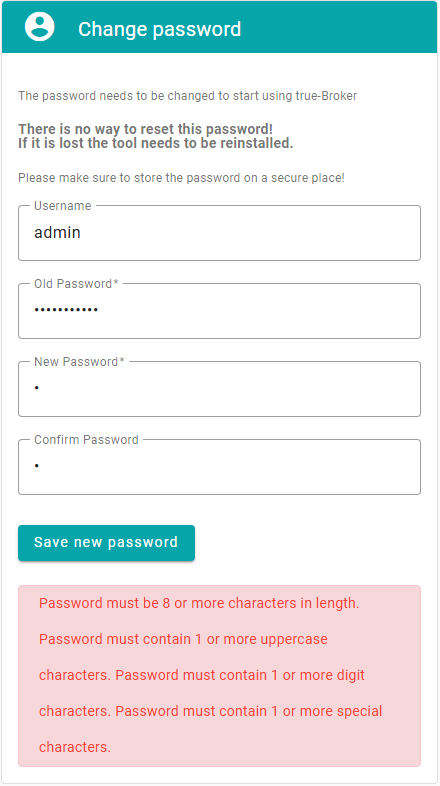
The new password must follow the password policy, and it cannot be a password which was previously used.
Change token password page
Use the Change token password link to change a token password.
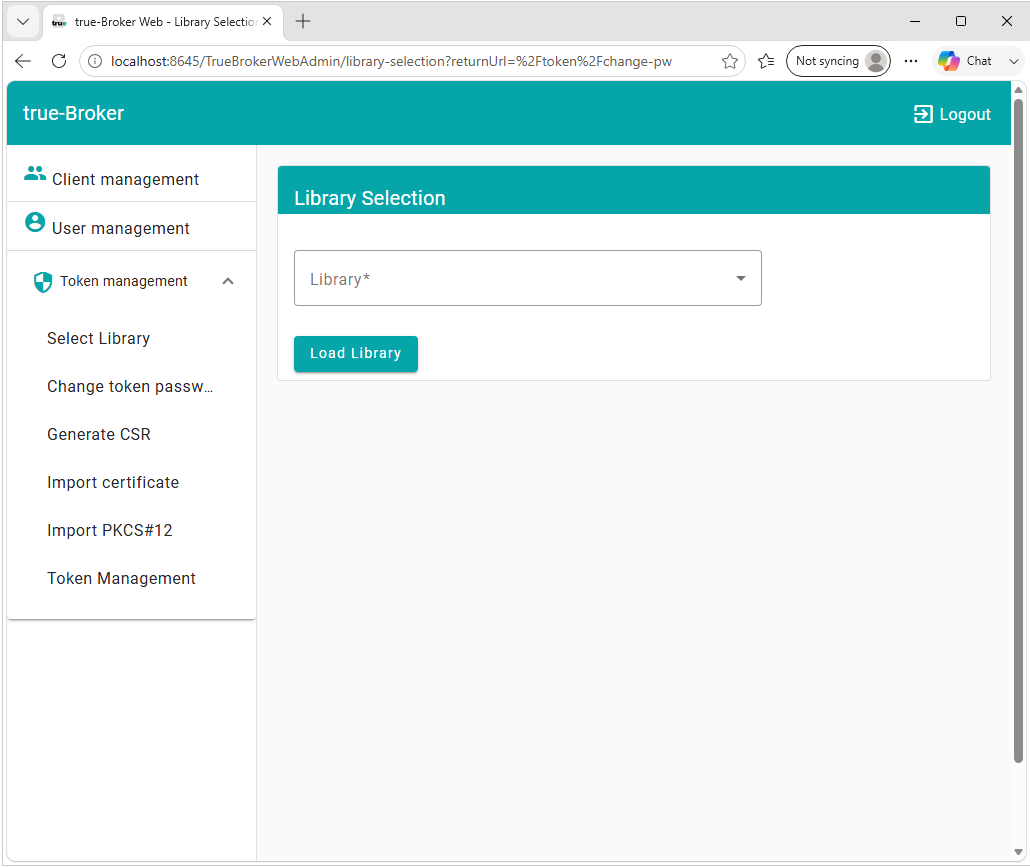
Select the library from the drop-down list and press the Load library button.
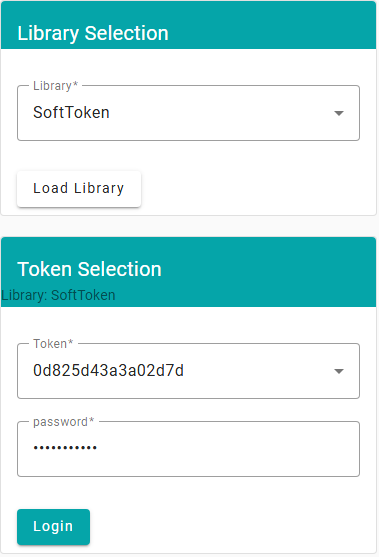
Select the token serial number form the drop-down list, enter the password and press the Login button.
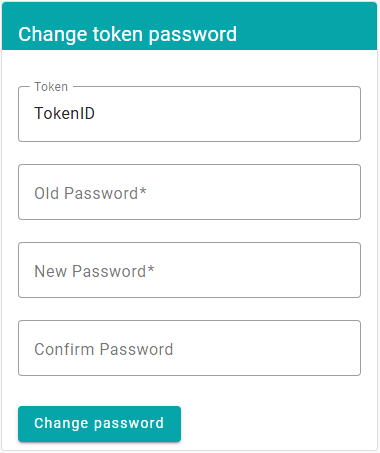
Enter the new password. Make sure the password length meets the password policy of the token. Some token password policies require a minimal password length or the occurrence of special characters.
Press the Change password button to change the token password.
Generate CSR page
Use the Generate CSR link to generate a new key pair on the token and a certificate signing request.
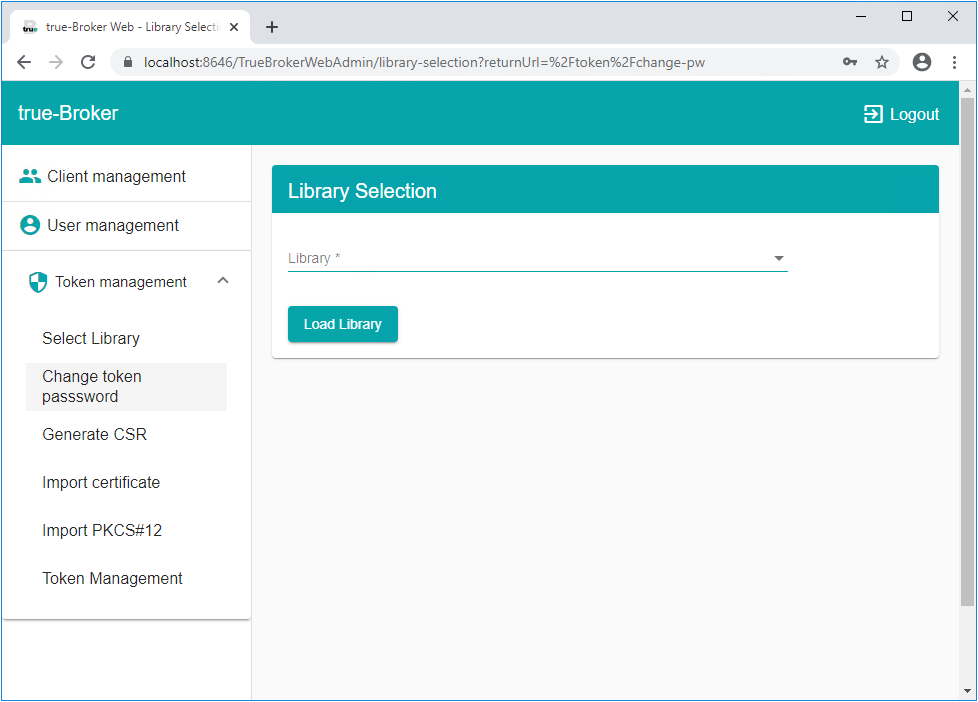
Select the library from the drop-down list and press the Load library button.
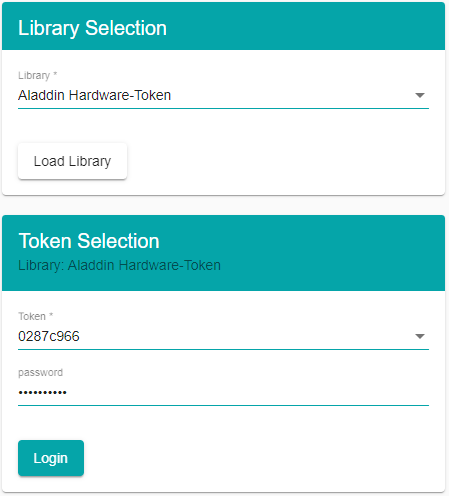
Select the token serial number form the drop-down list, enter the password and press the Login button.
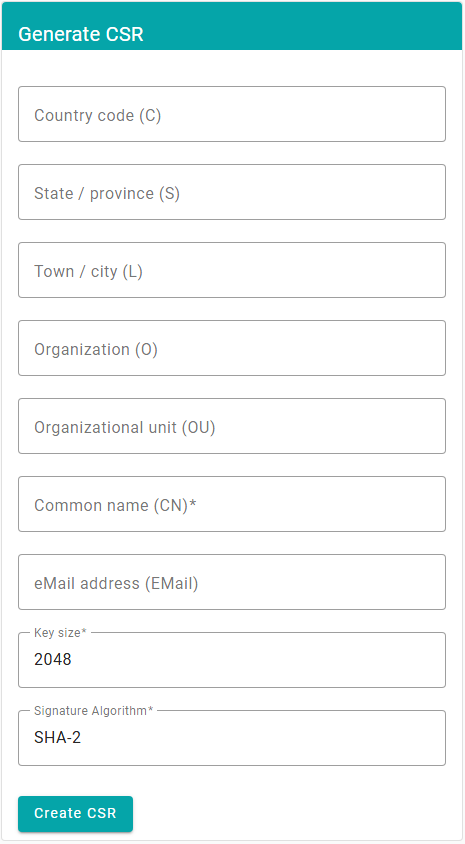
Make sure to enter all the information required by the certificate authority (CA) that will issue the certificate. Press the Generate CSR button to generate the key pair and the certificate signing request (CSR).
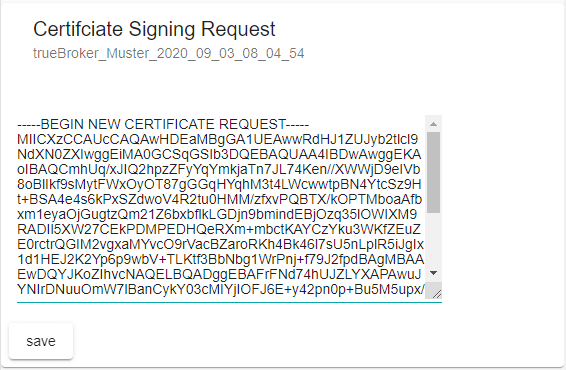
Copy the CSR to the clipboard or use the Save button to save the CSR to a file.
Import certificate page
Use the Import certificate link to import a certificate into a token containing the matching private key.
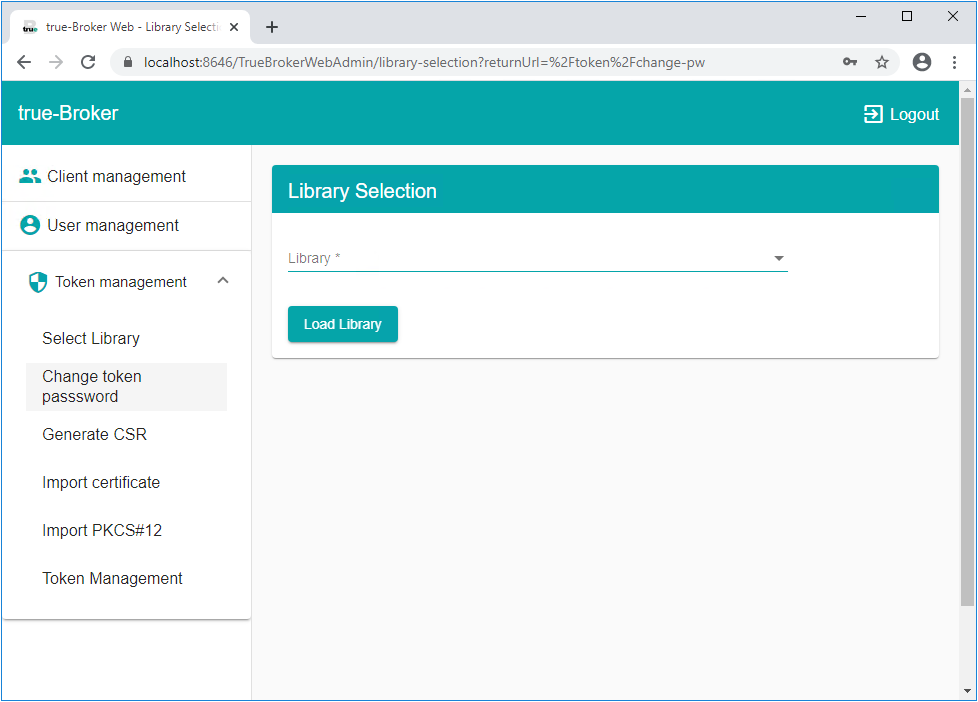
Select the library from the drop-down list and press the Load library button.
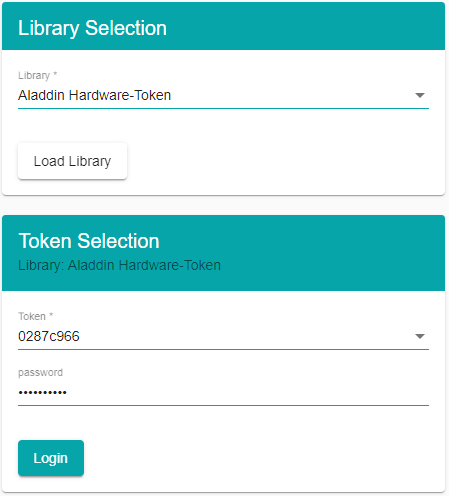
Select the token serial number form the drop-down list, enter the password and press the Login button.
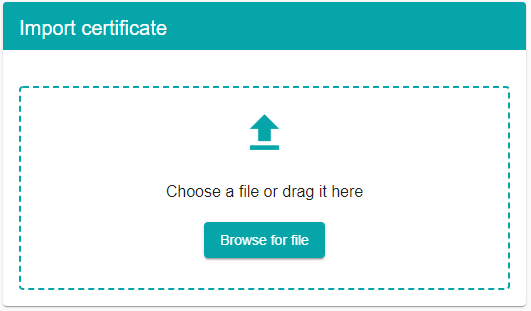
Use the Browse for file button or drag the file into the area to load the certificate received by the certificate authority (CA) into the token. Make sure you selected the token where you generated the key pair and the CSR.
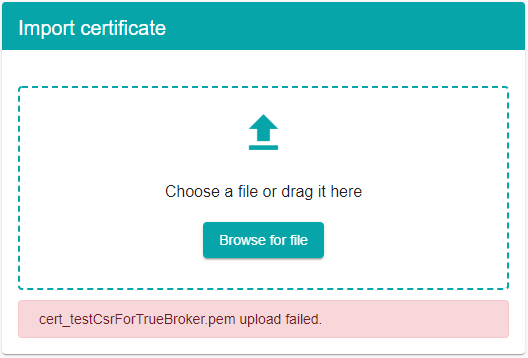
| If no matching private key can be found on the token the certificate will not be imported. |
|---|
Import PKCS#12 page
Use the Import PKCS#12 link to import a certificate and private key into a token.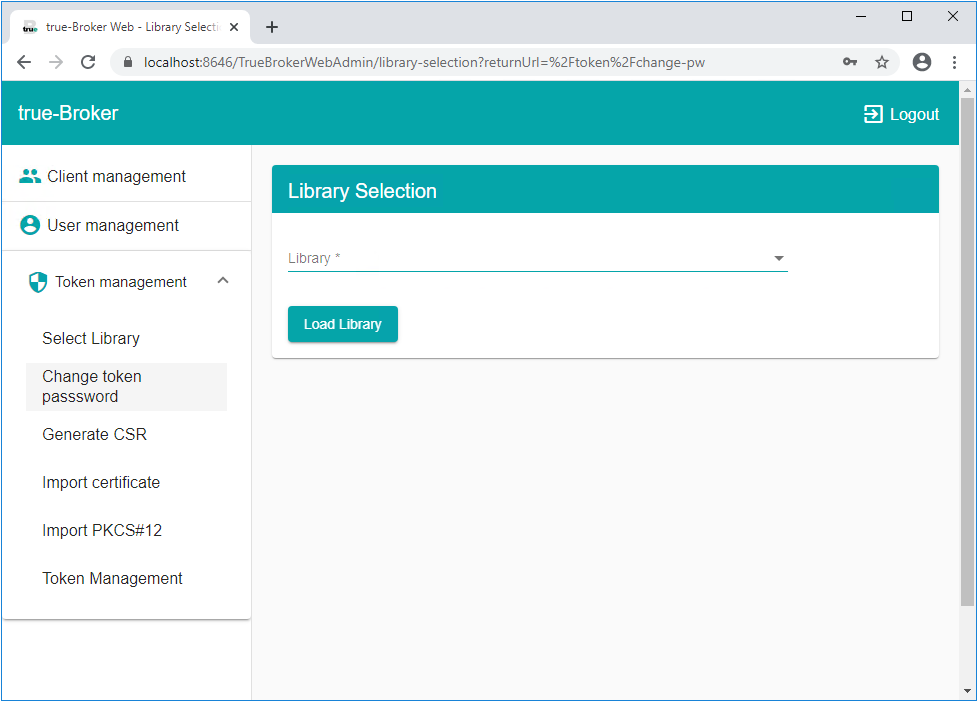
Select the library from the drop-down list and press the Load library button.
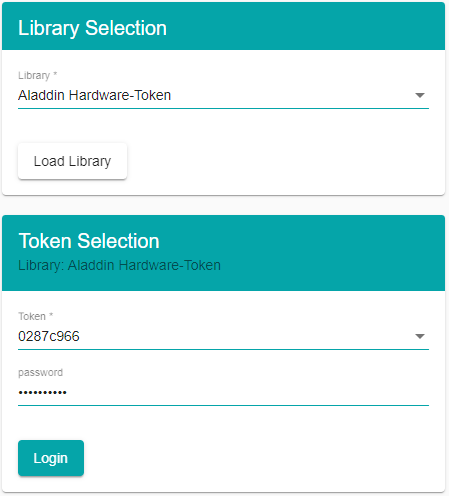
Select the token serial number form the drop-down list, enter the password and press the Login button.
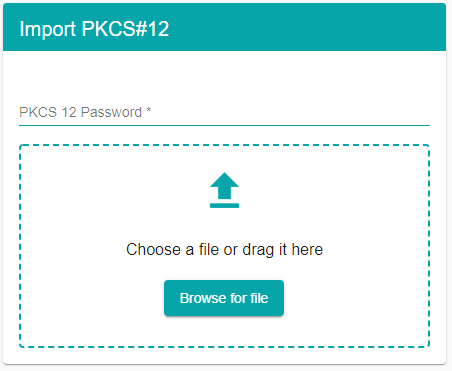
Enter the password of the PKCS#12 file then use the Browse for file button to select the PKCS#12 file from the file system or drag the file into the area.
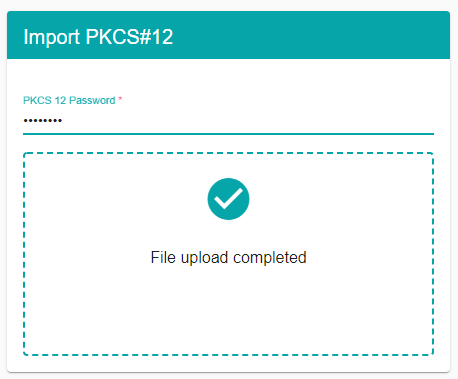
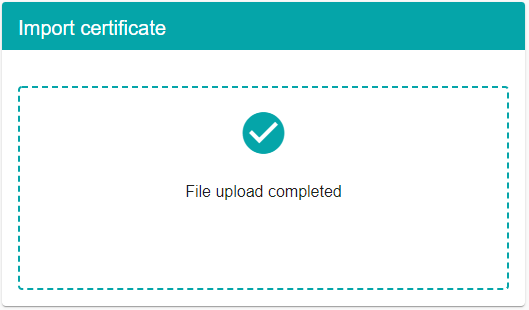
If the file upload completes successfully, the PKCS#12 file has been imported to the token.
Token management page
Use the Token management link to display or delete the token objects on the token.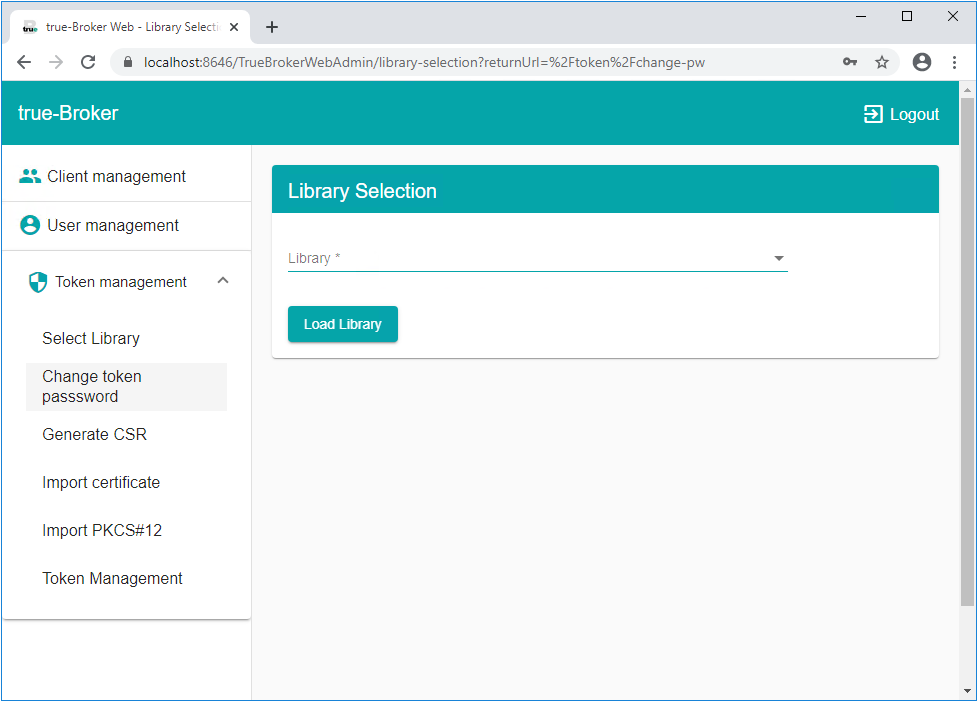
Select the library from the drop-down list and press the Load library button.
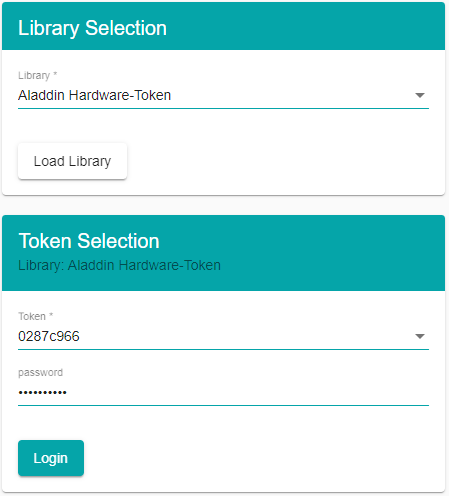
Select the token serial number form the drop-down list, enter the password and press the Login button.
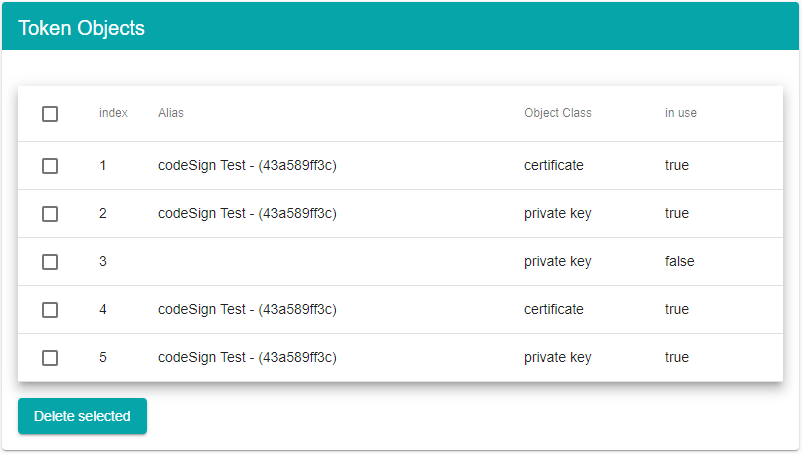
The table shows the objects stored on the token. The objects may be a certificate, private or public key. You may delete unused objects from the token. You cannot delete objects that are used by a client security configuration.
Logout
To log out from the true-Broker Web Administration application select the Logout button in the upper right corner.

Pressing the Logout button redirects you to the Logon page.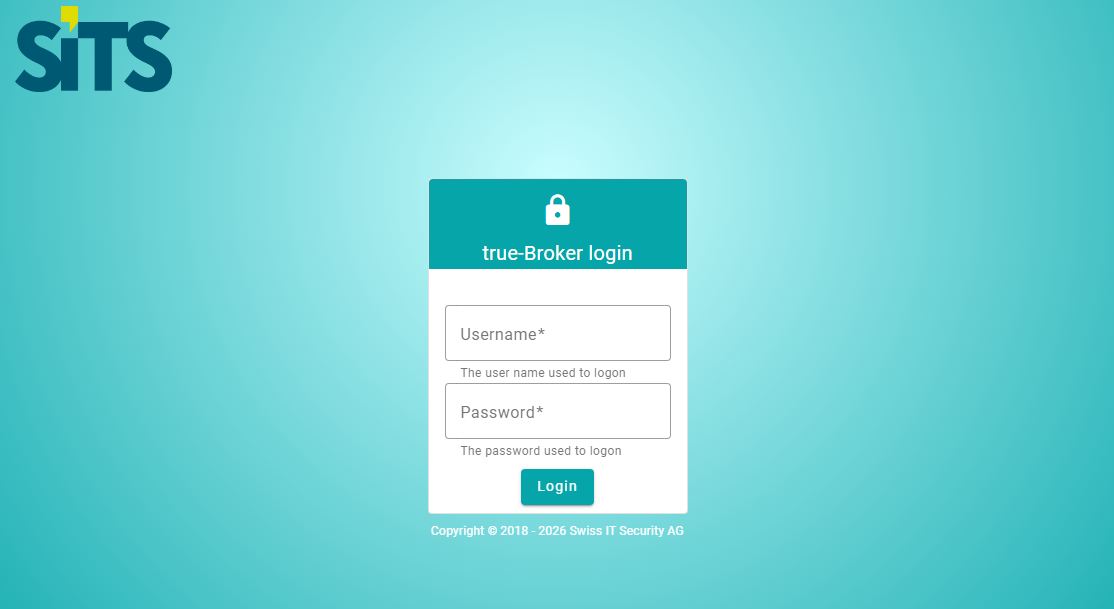
true-Broker Web
true-Broker Web is a Web application running on an Apache Tomcat server. true-Broker Web is used to securely download messages from the specified target system. true-Broker Web further supports a SOAP Web service interface for real time message exchange.
The true-Broker Web application must be created using the true-Broker Web Administration application. The URL to access true-Broker Web may be selected using the Logon page of true-Broker Web Administration.
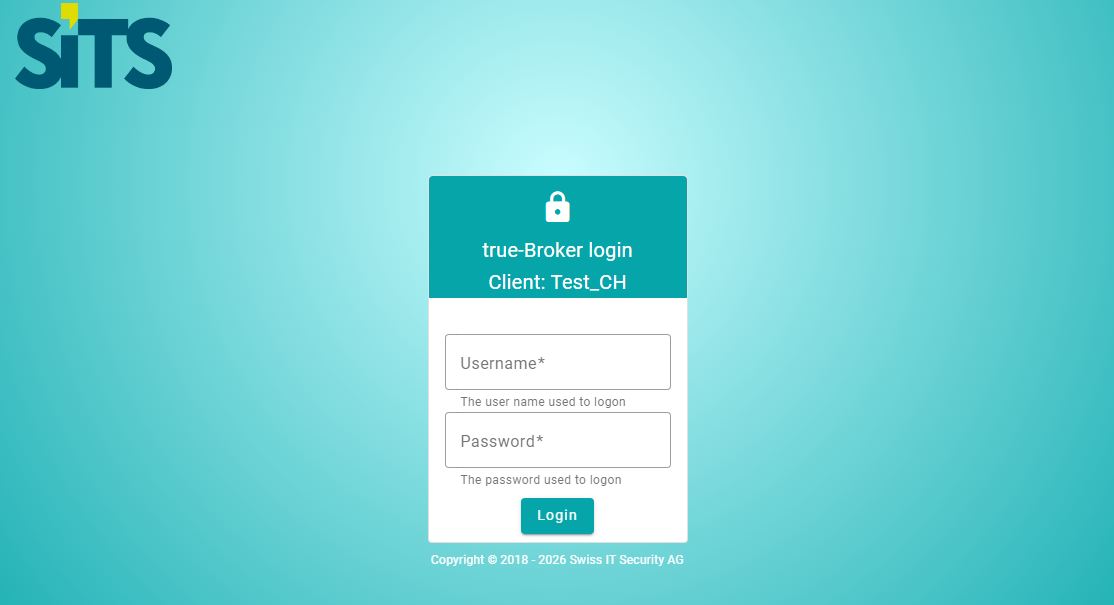
Select the link of your client to get to the Logon page of the corresponding true-Broker Web application.
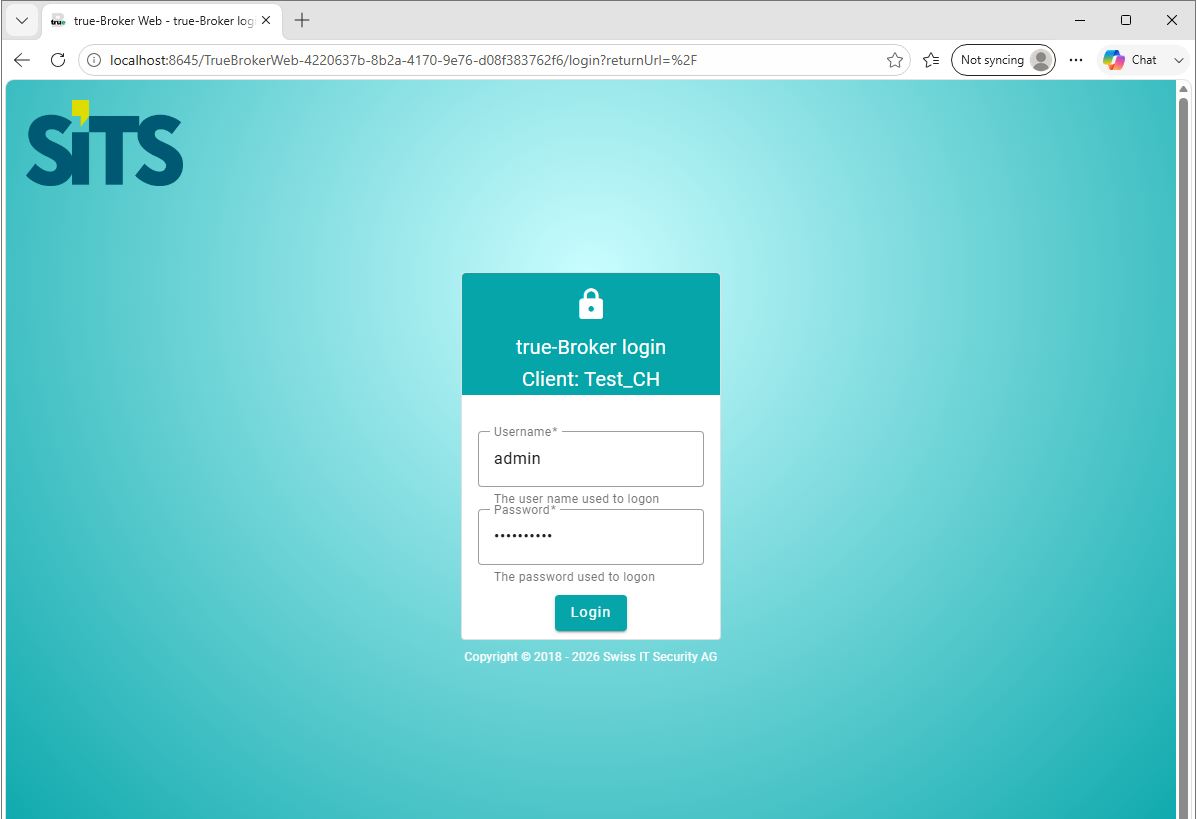
Logon page
To get access to the true-Broker Web Administration Web application you have to login with a username and password. 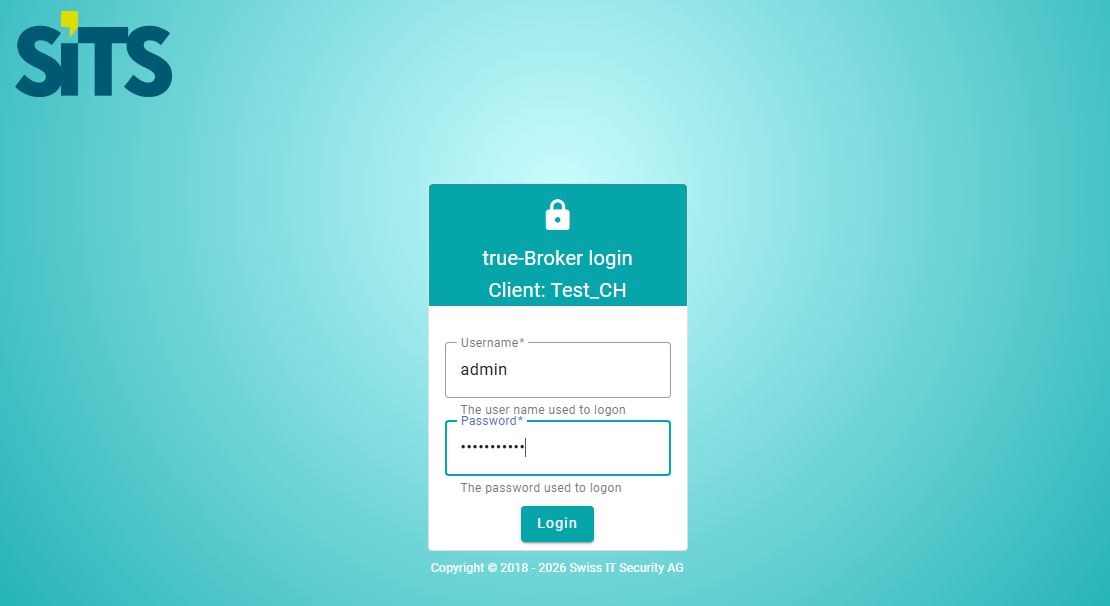
The default username is admin. The default password is 12345678.

Press the Login button to logon to the application.
You can change the administrator password using the User management link.
Main page
The main page is used to start and stop the true-Broker Web application.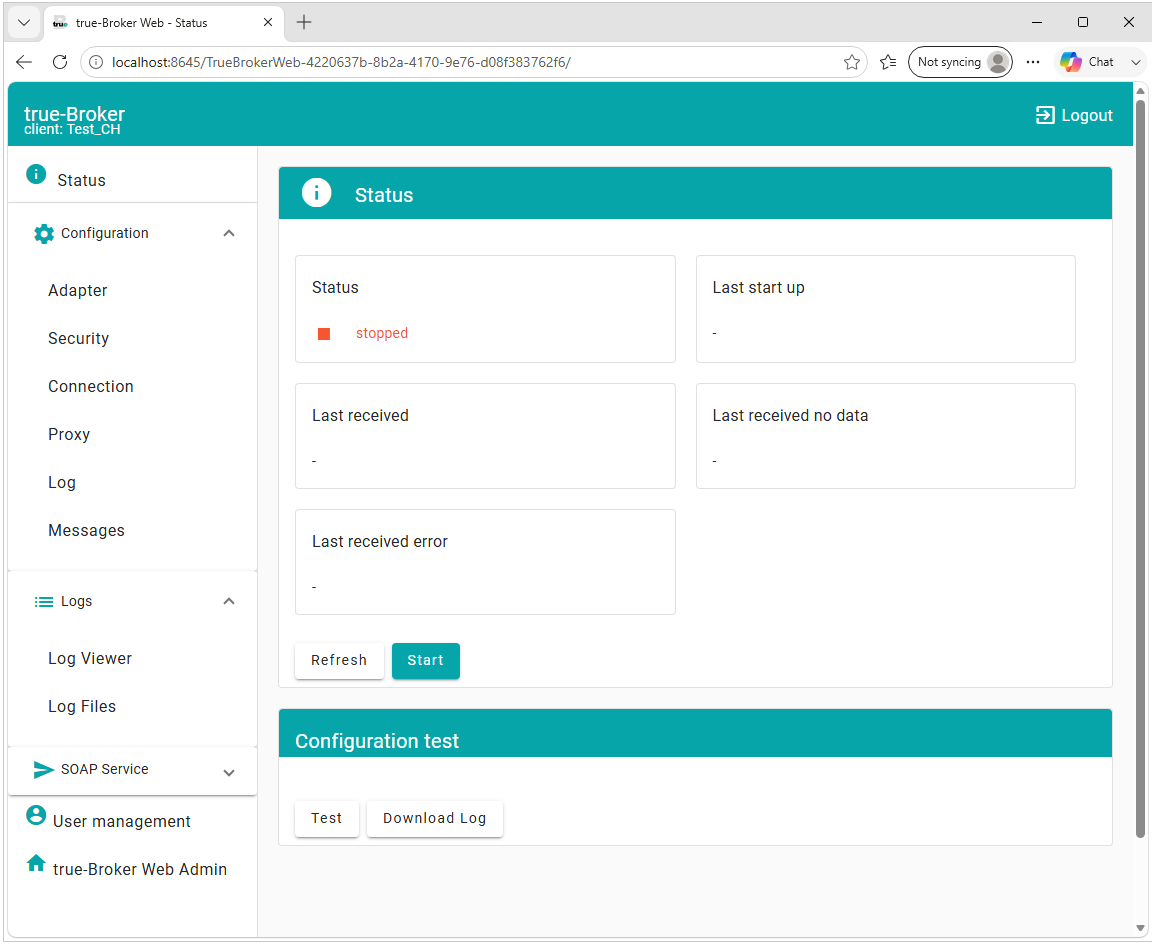
| Make sure you have a valid configuration by using the Test button. |
|---|
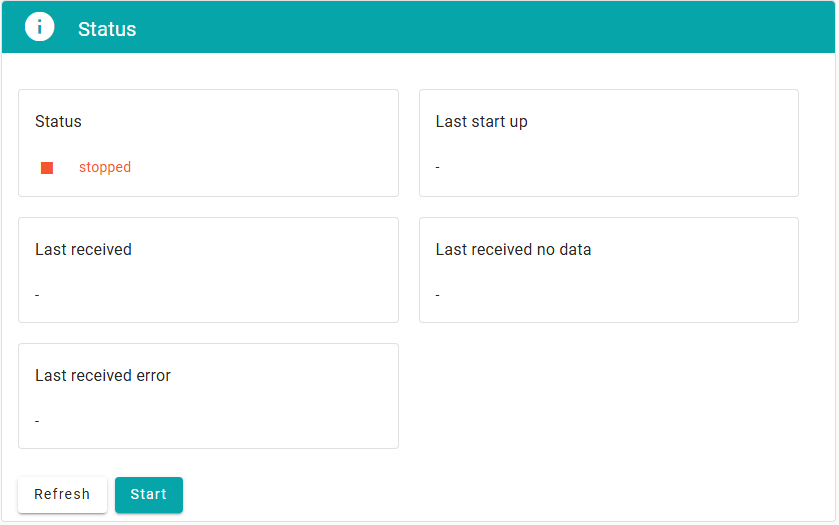
Once the application is running you can use the Stop button to stop the application.
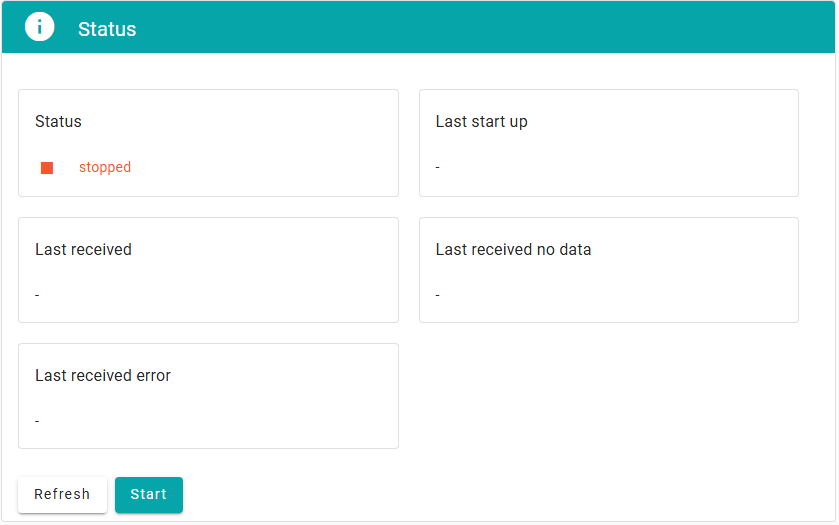
Use the Refresh button to refresh the status.
Before running the application for the first time, you should test your configuration. Press the Test button to start the test.
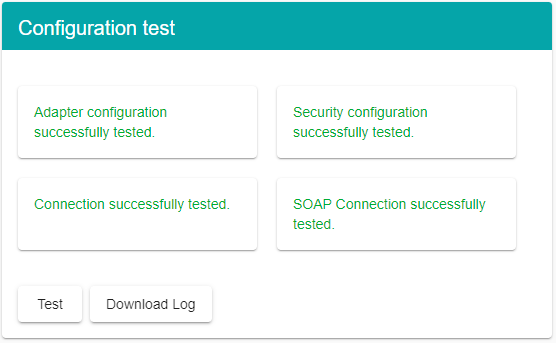
If the test completes successfully, you can start the application.
Adapter configuration page
Use the Adapter configuration page to configure where to store your downloaded messages.
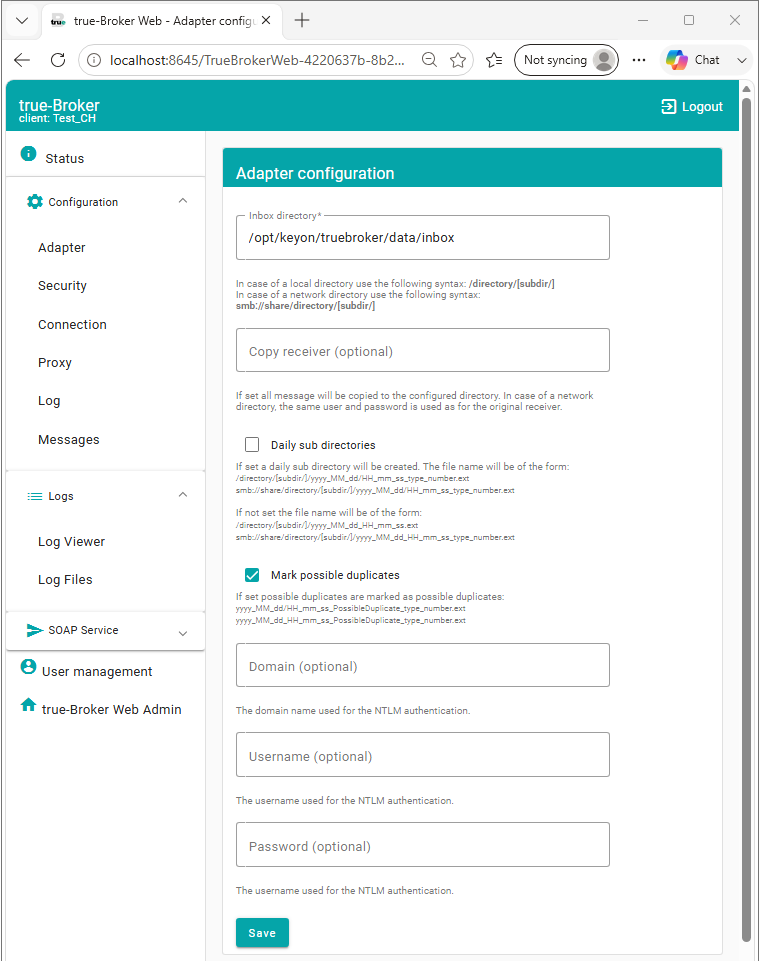
The Inbox directory defines the directory where messages are stored. Use the following syntax if you want to store the messages into a local directory:
/directory/[subdirectory/]
In case of a network directory use the following syntax:
You can optionally copy the URL of your network directory from your explorer:
Do not use mapped network drives. The Tomcat Apache server is using the System account to run and does not have access to mapped network drives.
The Copy receiver is an optional parameter. If it is set, all messages will be copied and stored in the specified directory as well.
To use a network directory, use the syntax described above.
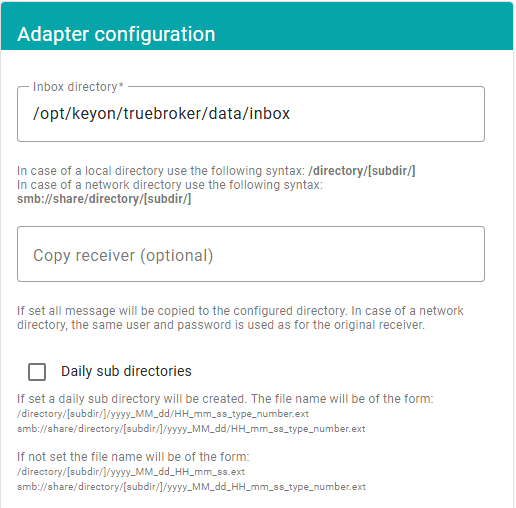
| Downloaded messages are directly stored in the above inbox directory or a daily sub directory of the inbox directory. |
|---|
If the Daily sub directories check box is set a daily sub directory will be created. The file name will be of the form:
yyyy_MM_dd/HH_mm_ss_MSGTYPE_NUM.txt
Example:
2009_07_02/14_35_43_MT515_123456.txt
If the Daily sub directories check box is not set the file name will be of the form:
yyyy_MM_dd_HH_mm_ss_MSGTYPE_NUM.txt
Example:
2009_07_02_14_35_43_MT515_123456.txt
| Tag | Description | Example |
|---|---|---|
| yyyy | Year | 2009 |
| MM | Month in year | 07 |
| dd | Day in month | 02 |
| HH | Hour in day (0-23) | 14 |
| mm | Minute in hour | 35 |
| ss | Second in minute | 43 |
| MSGTYPE | Message type | MT515 |
| NUM | Unique number | 123456 |
In case a message could be a possible duplicate the message is prefixed with “PossibleDuplicate”. If the check box is selected the possible duplicates are marked:

Please define the Domain, username and password if NTLM authentication is needed to access the network directory.
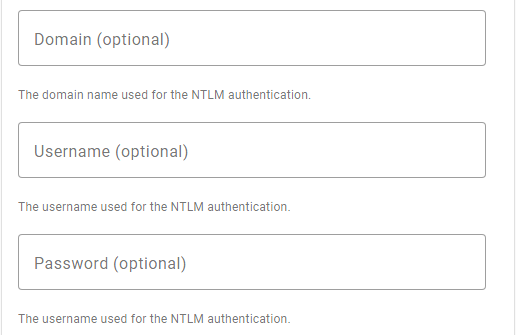
If the inbox directory as well as the copy receiver directory are network directories, the same user must be used to login to both.
Press the Save button to save your changes.
| The save process can take a while if a network directory has been configured. The save action checks whether the network directory is accessible using the defined configuration parameters. |
|---|
Security configuration page
Use the security configuration page to configure the credentials used for client authentication.
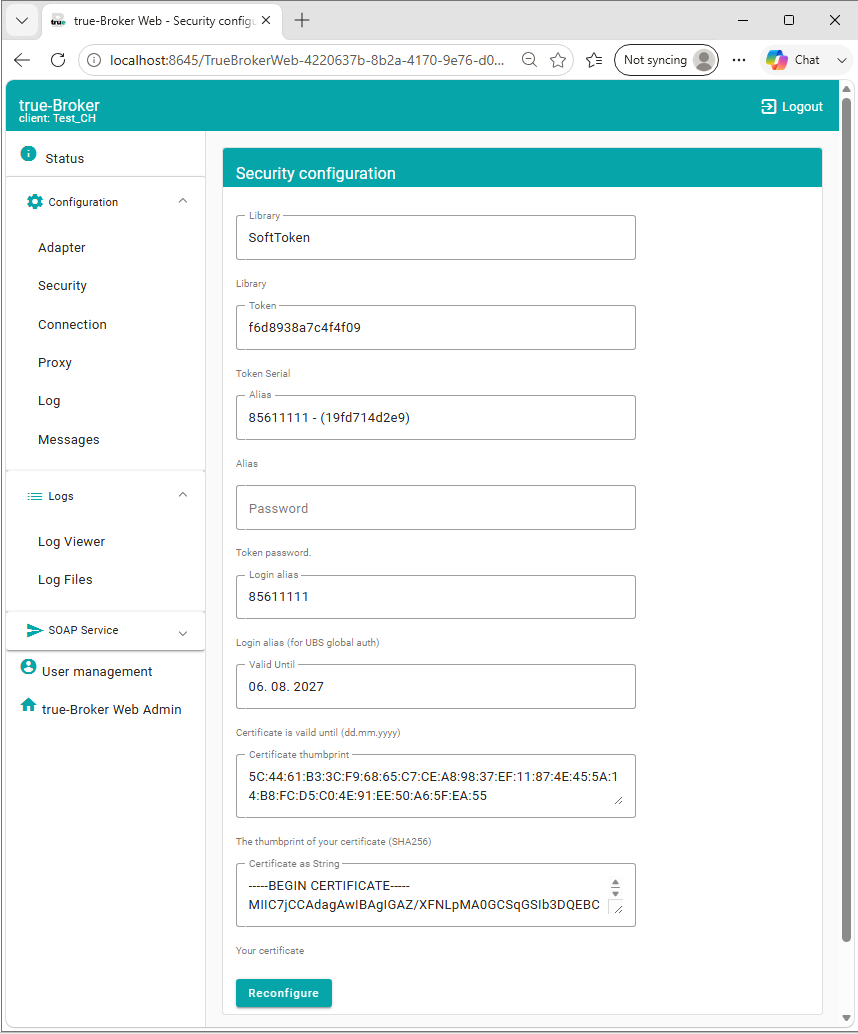
The Security configuration page shows the current security configuration settings.
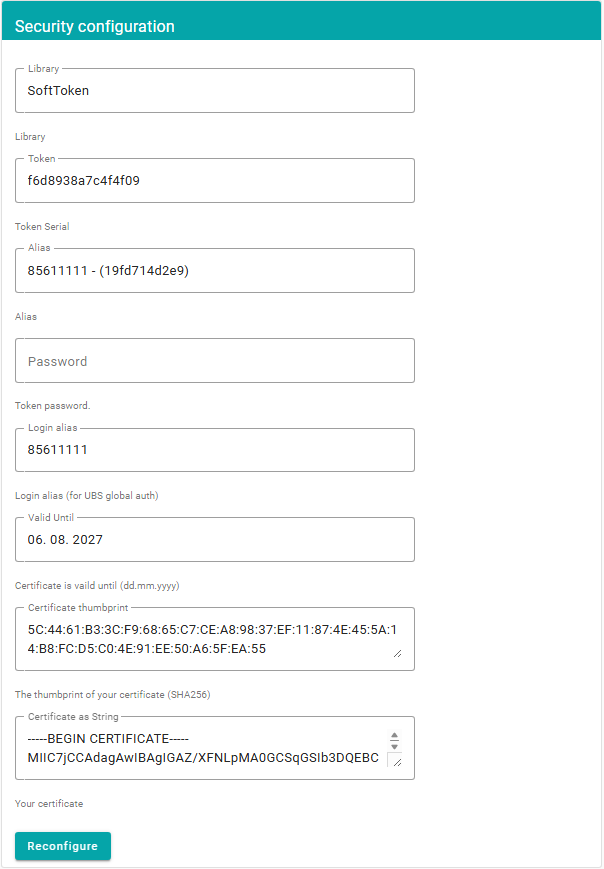
Select the Reconfigure button to restart the configuration process.
Please select the Library according to your security token.
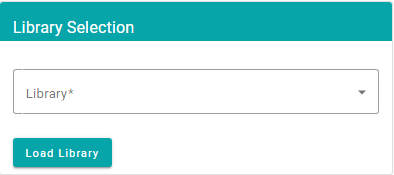
The following hardware security tokens are currently supported:
| Name | Token |
|---|---|
| SafeNet 5110 Use the Aladdin eToken driver for this token | 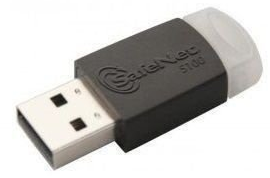 |
Press the Load Library button to load the selected library.
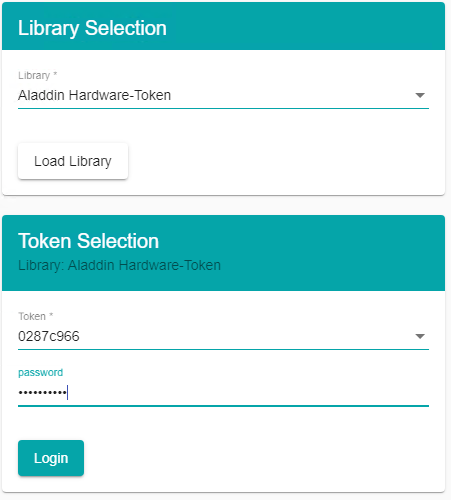
Select the serial number of your token, enter the token password and press the Login button.

Select an alias and press the Save button to save to configuration.
To use a SoftToken, a Contract-ID is needed. This ID is provided directly by UBS. If you do not have such an ID, please contact your relationship manager at UBS.
Press the Load Library button to load the selected library.
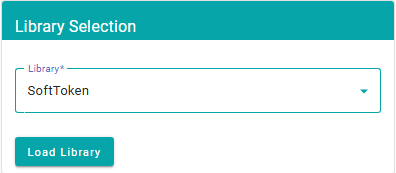
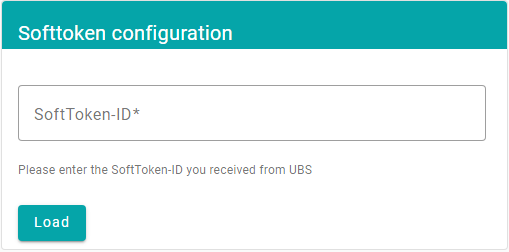
Enter the SoftToken-ID / Contract-ID you received from UBS.
The format for UBS Contract-IDs is simply an 8-digit number: 11111111
After entering the ID, true-broker will create a certificate, which needs to be sent to UBS to register it for you.
To show the certificate, simply click on Security in the left-hand menu again.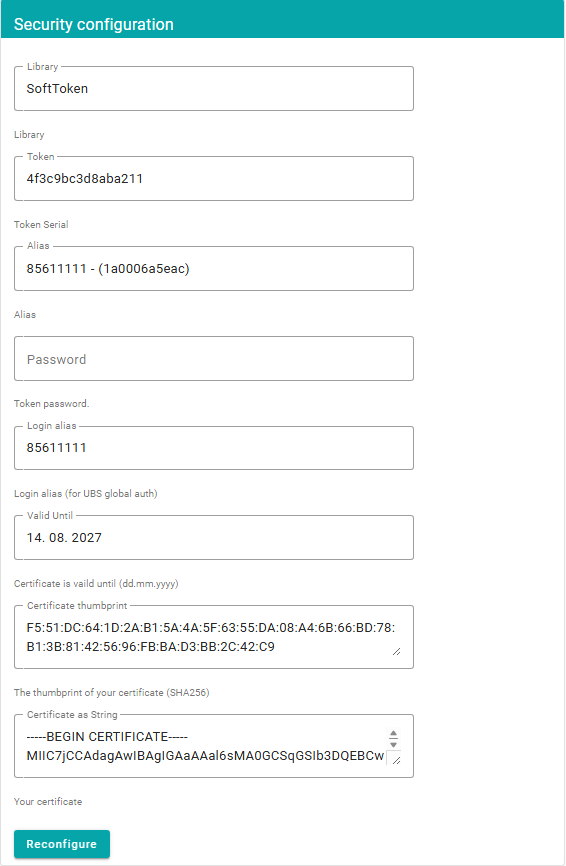
Copy the String from Certificate as String field into an email and send it to UBS.
You will receive a call from UBS to verify the certificate you have just sent has not been tampered with. To do that, you will compare the Certificate Thumbprint with the representee of UBS. Once it’s verified, UBS will activate the certificate for you and the connection can be established.
Connection configuration page
Use the Connection configuration page to change the connection settings.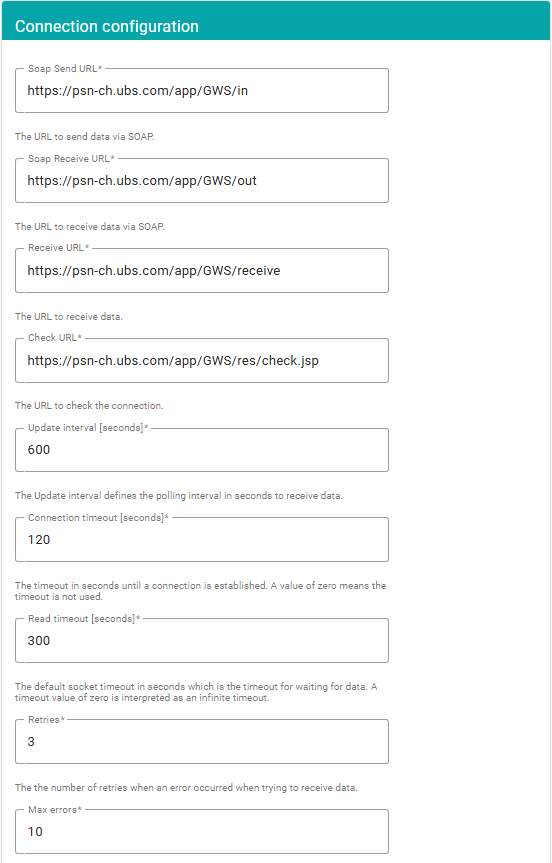
The SOAP Send URL defines the URL where the inbound messages are sent to. The SOAP Receive URL defines where the trading outbound messages are downloaded from. The Receive URL defines where the statement outbound messages are downloaded from. Which SWIFT message types are retrieves as trading or statement messages can be configured through UBS.
The Check URL is used to check the connection.
| Normally you do not have to change the Send, Receive or Check URL. |
|---|
The Update interval defines the polling interval in seconds to receive data.
The Connection timeout defines the timeout in seconds to wait until a connection has been established.
The Read timeout defines the timeout in seconds to wait for data.
Retries defines the number of retries when an error occurred when trying to receive data.
The true-Broker Web application is restarted after Max errors. If the true-Broker Web application should never be restarted, use 0 as value for Max errors.
The Error restart interval defines the interval in seconds used to check whether true-Broker is in error state and must be restarted.
Proxy configuration page
Use the Proxy configuration page to change the proxy settings.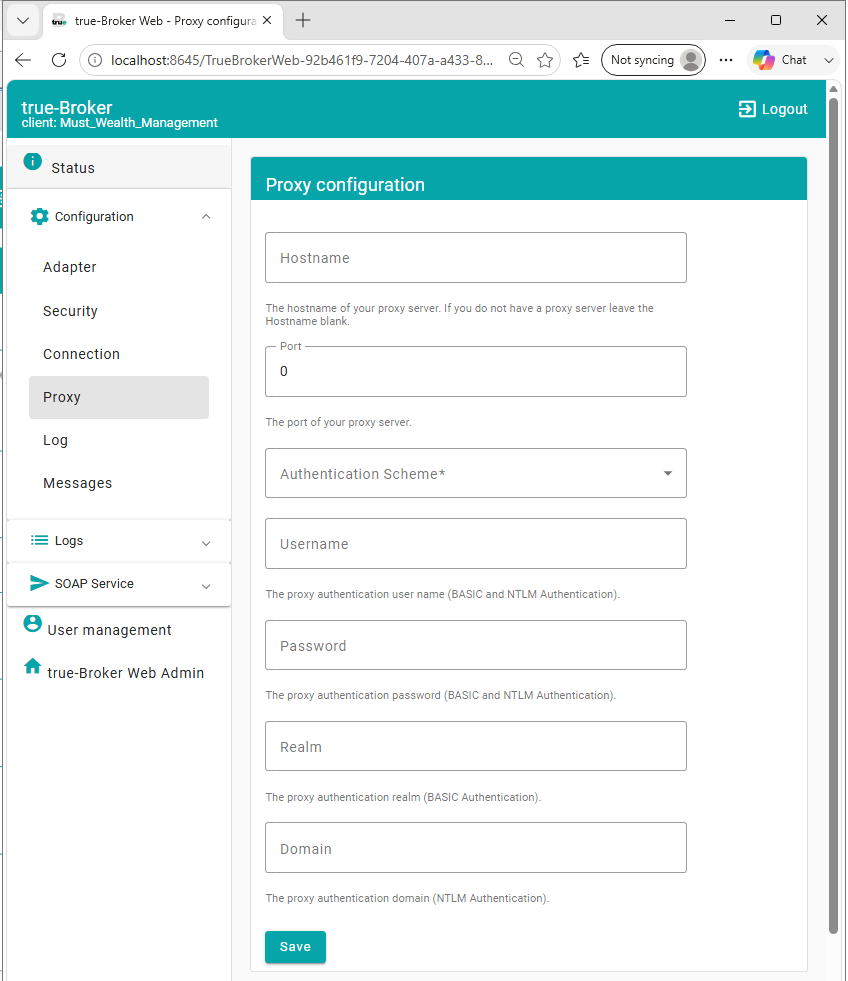
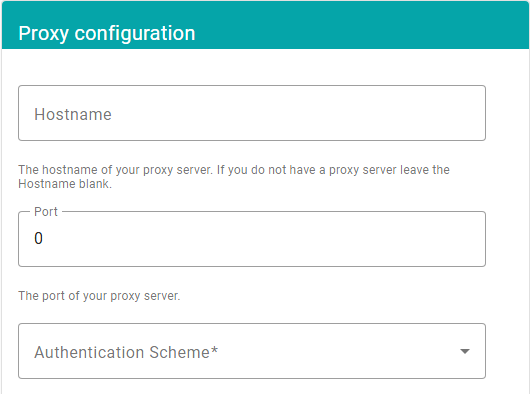
If you are behind a proxy to access the Internet, please enter the hostname and port of your proxy server.
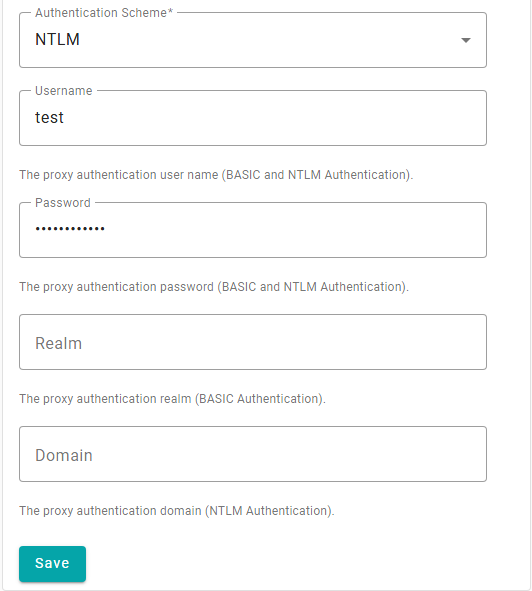
If your proxy server requires Authentication choose the appropriate Scheme (BASIC / NTLM) and enter the username, password and realm or domain.
Log configuration page
Use the Log configuration page to change the log settings.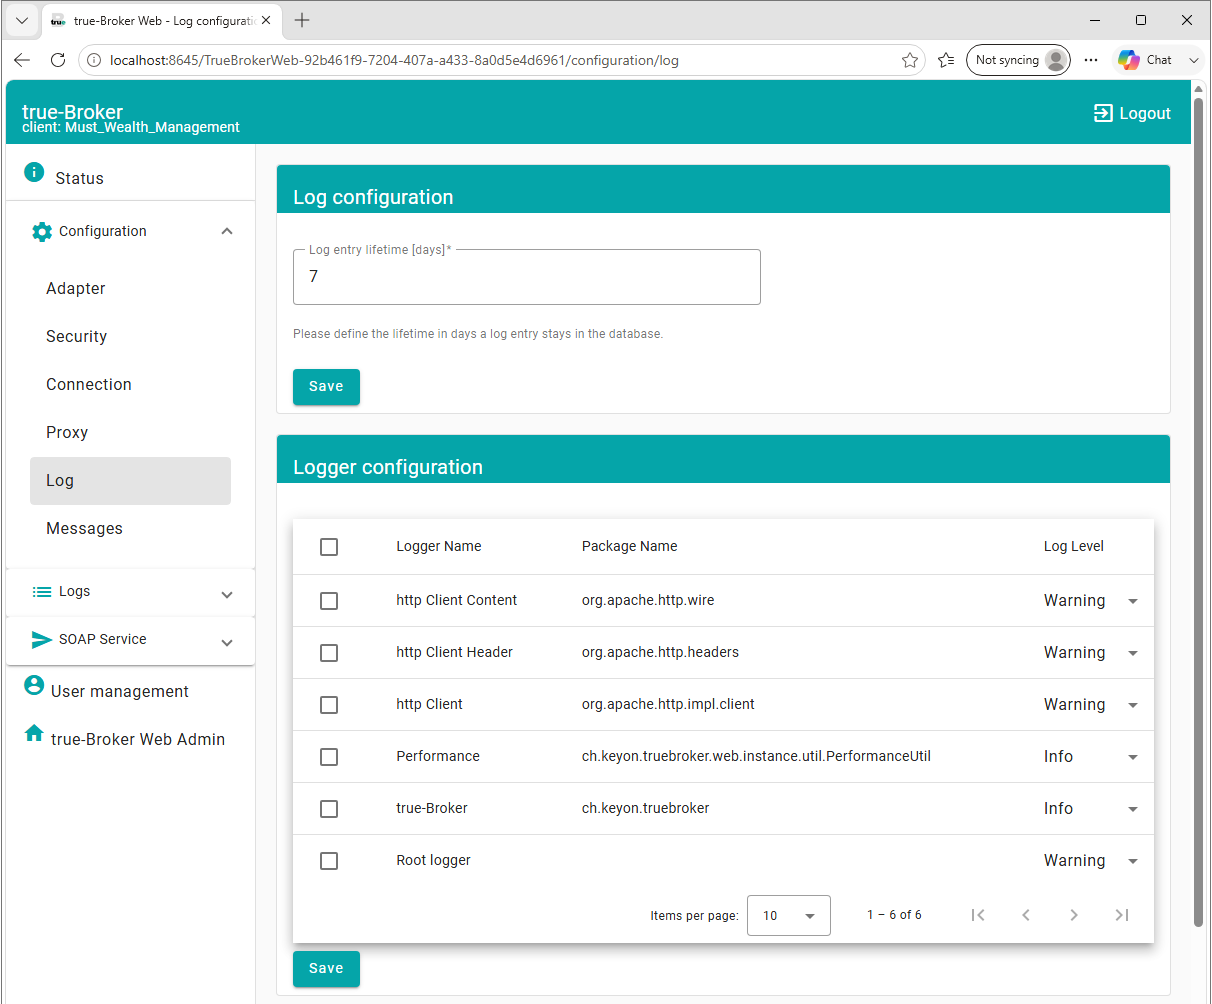
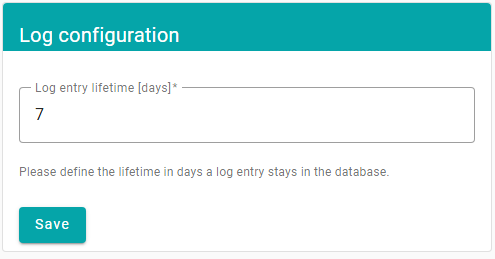
Log entries are written to log files and to the internal database. The lifetime a log entry stays in the database set the Log entry lifetime accordingly. The Log entry lifetime is defined in days.
You can change the log level of a logger. To do so please select the log level from the drop-down list.
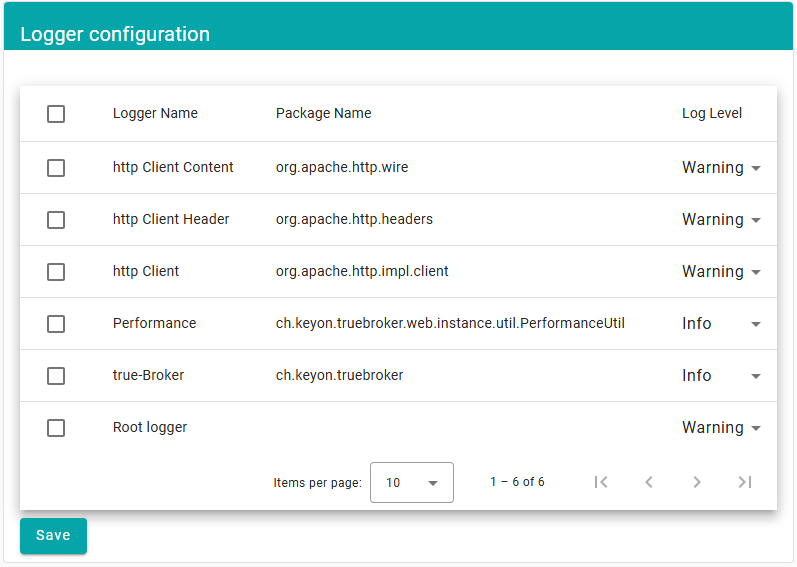
| Do not use the log levels ALL, TRACE or DEBUG in production mode. |
|---|
Messages configuration page
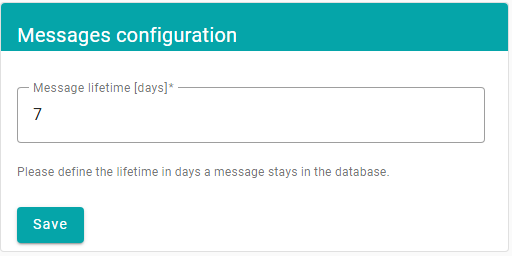
Use the Messages configuration page to change the messages settings.
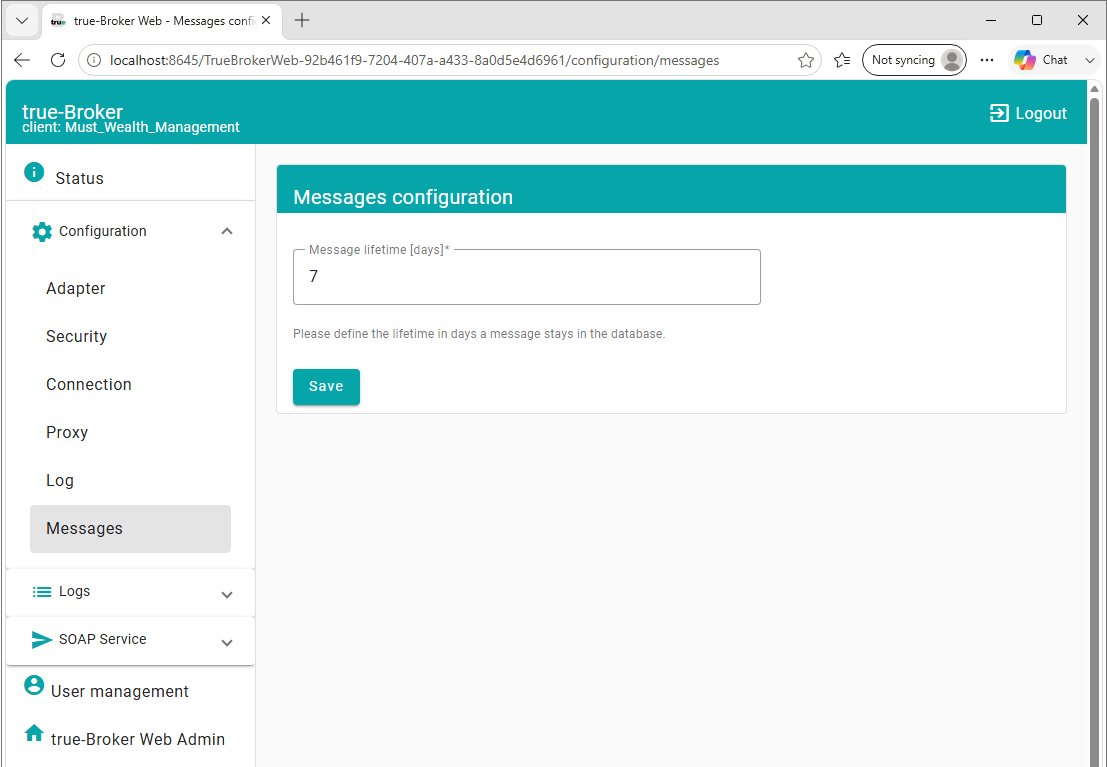
Messages sent or received through the SOAP service are additionally stored in the local database. Use the Message lifetime to define the time a message entry stays in the database. The Message lifetime is defined in days.
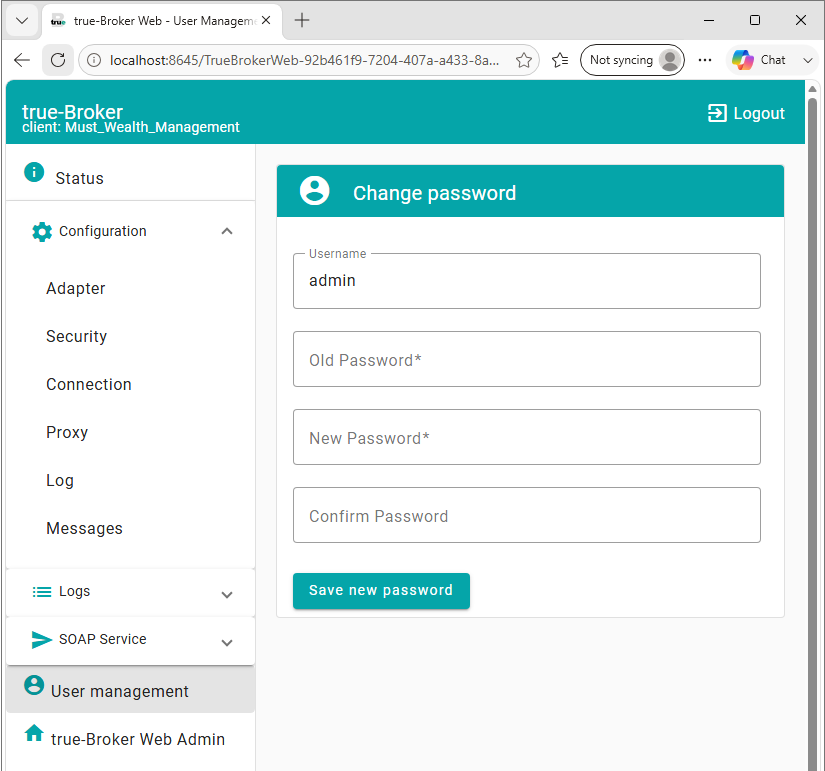
Change password page
Use the change password link to change your password.
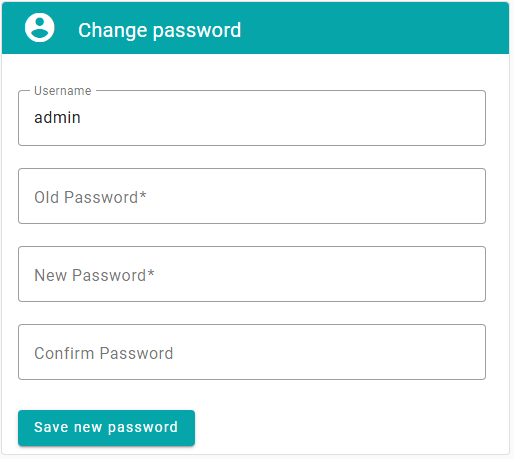
Enter the old password, the new password and confirm it.
Press the Save new password button to change the password.
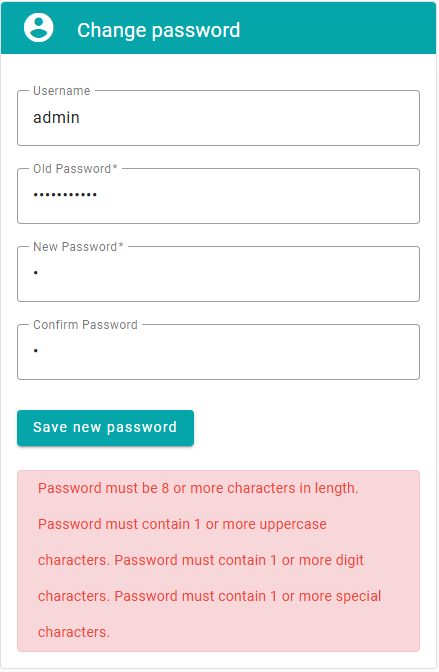
The new password must follow the password policy, and it cannot be a password which was previously used.
Log Viewer page
Use the Log Viewer page to browse the log entries.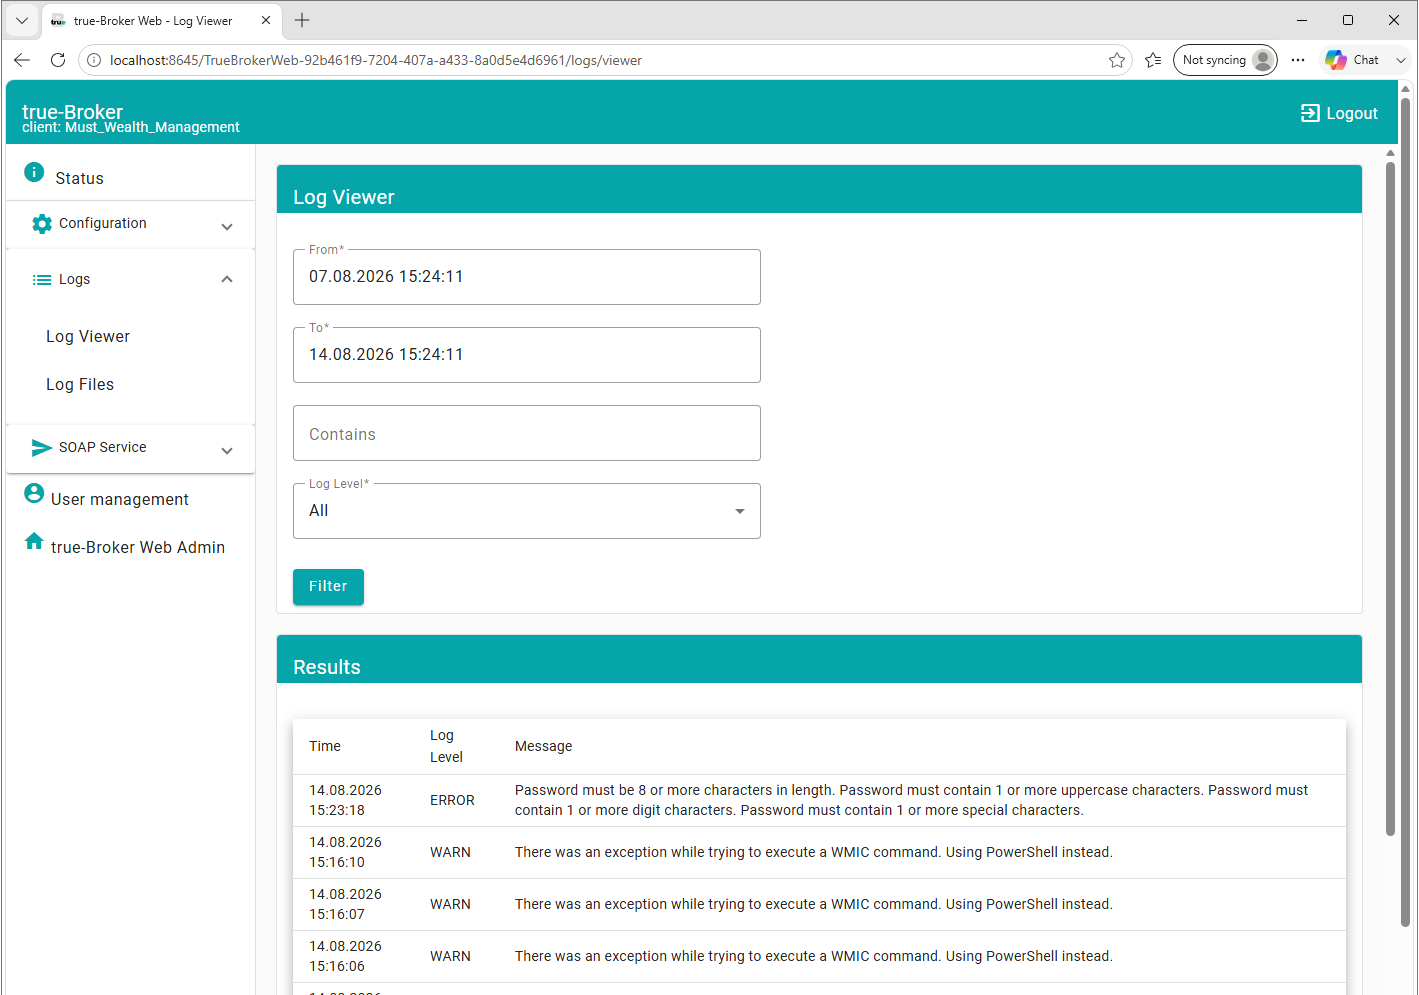
Log events are stored in the internal database and log files. The Log Viewer can be used to search for specific log events in the internal database. The lifetime a log entry stays in the internal database is defined using the Log Configuration page.
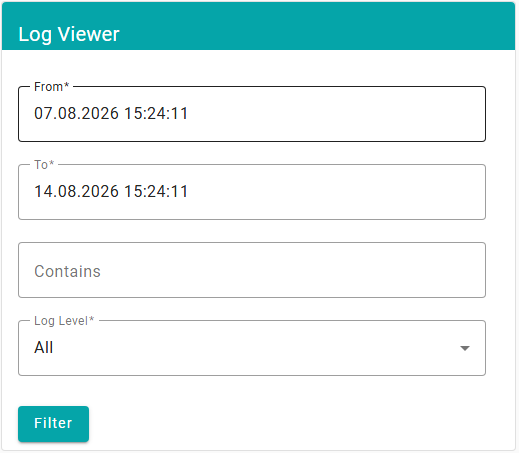
Use the log filter to search specific log entries. Press the Filter button to start searching.
Use the Delete All Logs button to delete all log entries in the database.
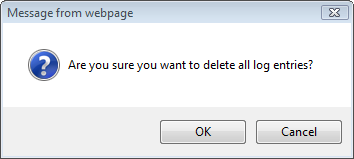
Press OK to confirm the delete action.
| Only log entries of the current true-Broker Web client are deleted. Log entries in the log files are not deleted. |
|---|
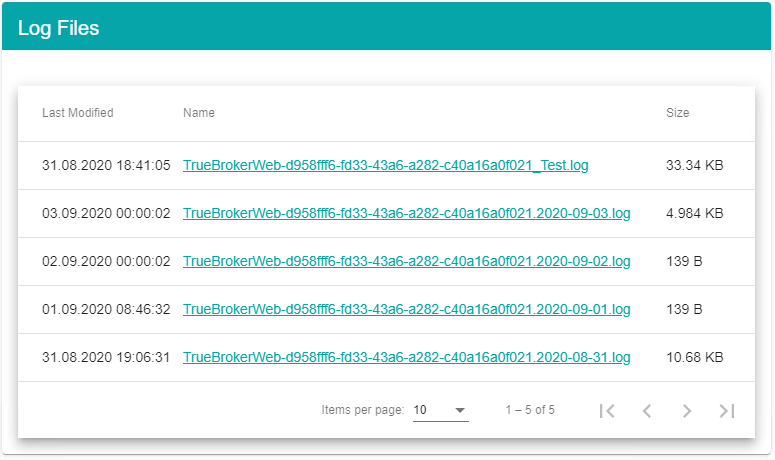
Log Files page
You can download the log files using the Log file page.
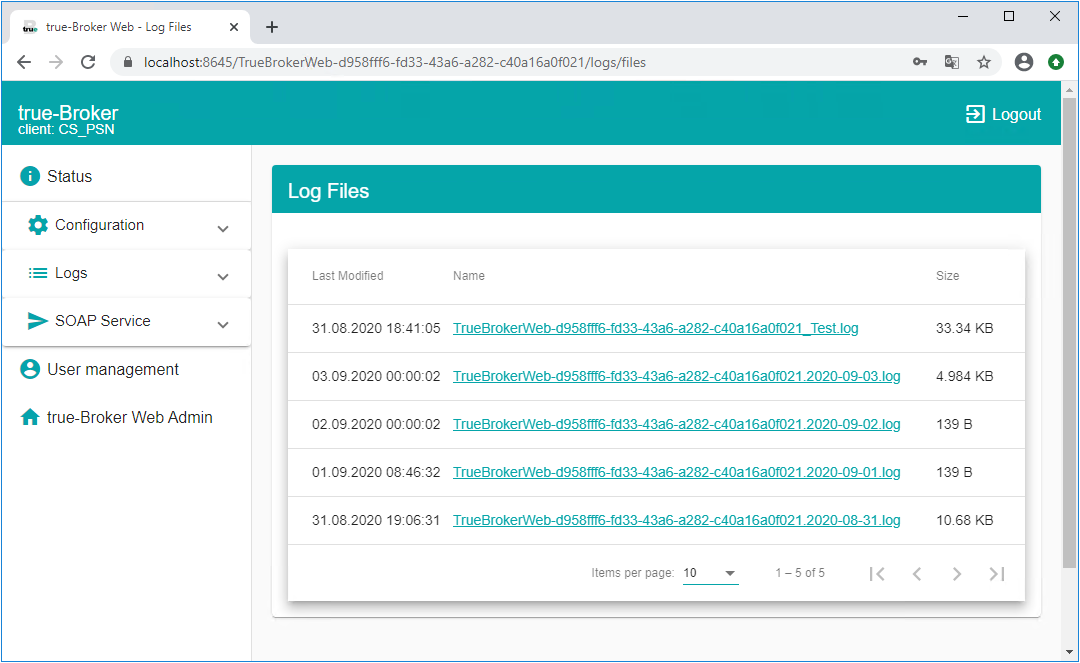
Select a log file link to download the log file.
Message Viewer page
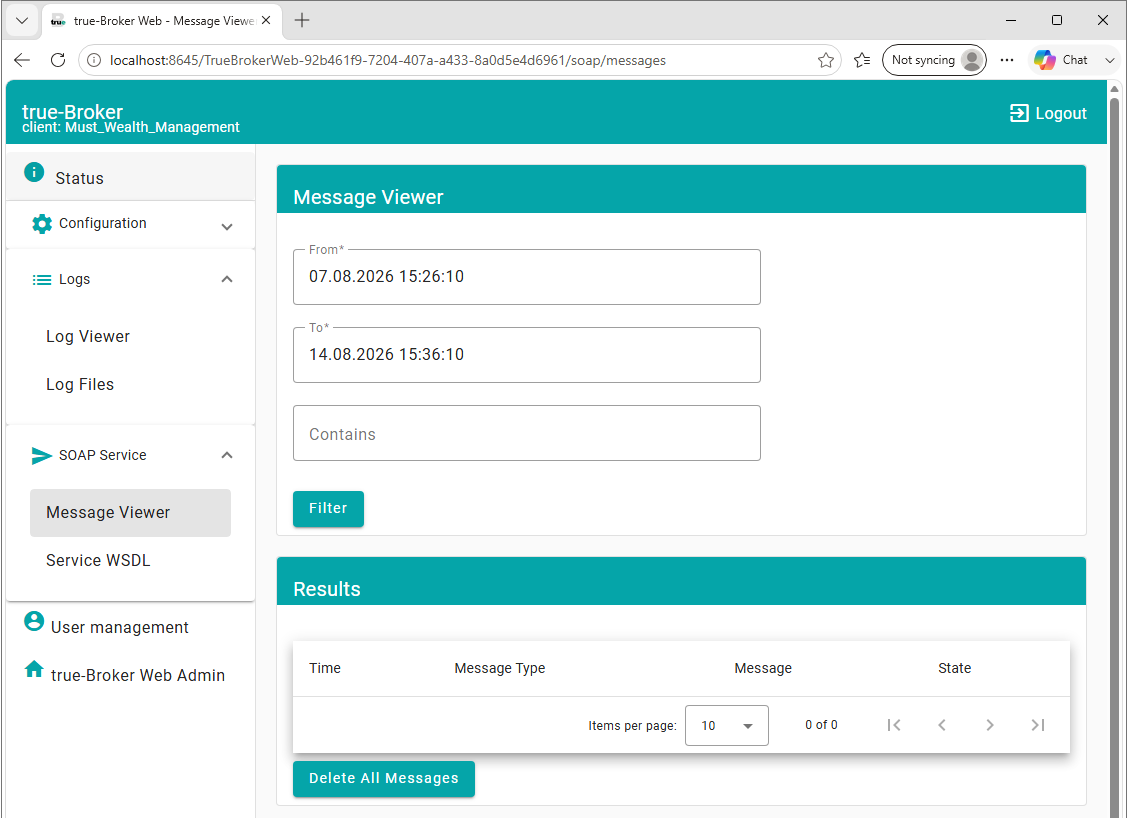
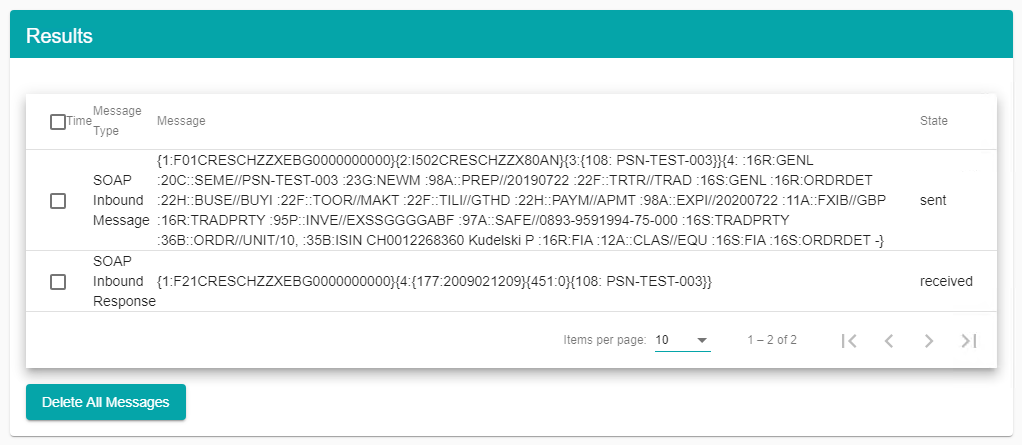
Messages that are sent and received through the SOAP service interface are additionally stored in the local database. Use the Message Viewer page to download or delete the messages.
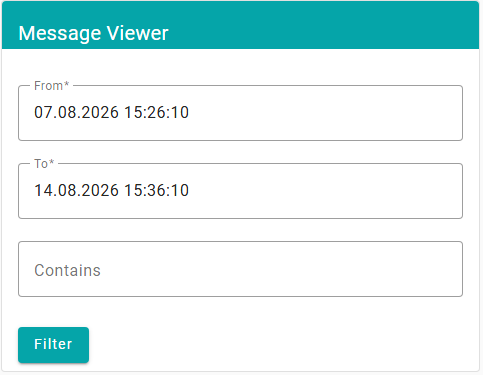
Use the message filter to search specific messages.
Use the message link to download the message.
Logout
To logout from the true-Broker Web application select the Logout button in the upper right corner.

Pressing the Logout button redirects you to the Logon page.
Service WSDL page
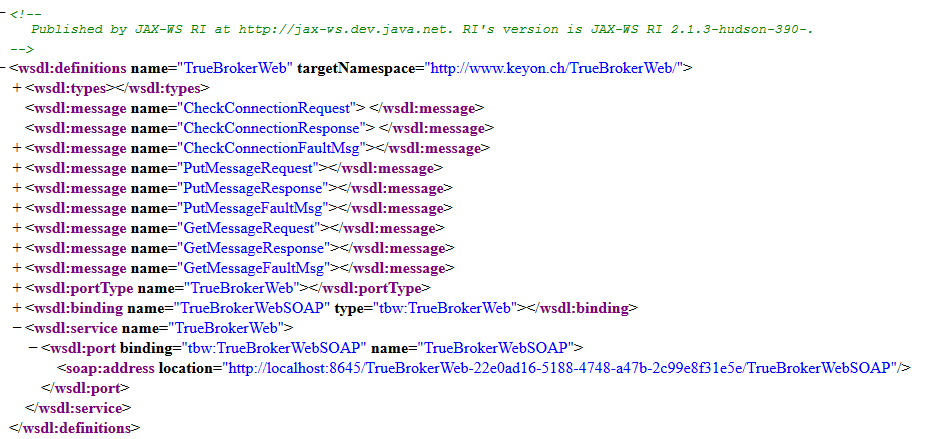
The Service WSDL page displays the WSDL of the true-Broker Web SOAP service. Use this link in your Web service client application.
Service Definition
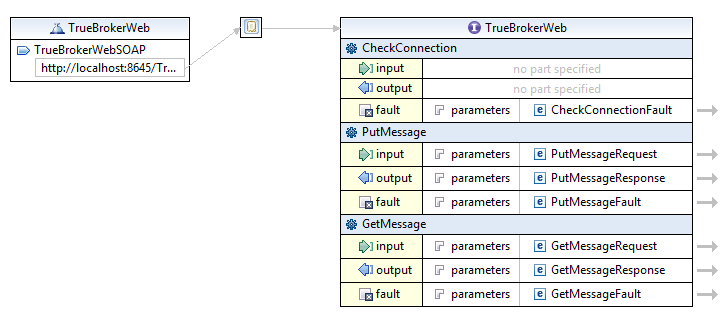
True-Broker Web offers a SOAP service with the following interface.
Operation CheckConnection
This function is used for an initial connection test. This function must have the following parameters:
| Fault | ||
|---|---|---|
| CheckConnectionFault | ||
 |
||
| Element | Description | |
| CheckConnectionFault | Contains reason message in case of connectivity error. |
Operation PutMessage
This function is used to transfer message from the client system to the target system. This function must have the following parameters:
| Input Parameter | ||
|---|---|---|
| PutMessageRequest | ||
 |
||
| Element | Description | |
| message | The message to be sent. |
| Output Parameter | ||
|---|---|---|
| PutMessageResponse | ||
 |
||
| Element | Description | |
| response | SWIFT Response (F21 ACK or NACK) |
| Fault | ||
|---|---|---|
| PutMessageFault | ||
 |
||
| Element | Description | |
| PutMessageFault | Contains reason message in case of a transfer error. |
Operation GetMessage
This function is used to request a message from the target system. This function must have the following parameters:
| Input Parameter | ||
|---|---|---|
| GetMessageRequest | ||
 |
||
| Element | Description | |
| timeout | Maximum time interval (in seconds) the function will wait for a receiving message. |
| Output Parameter | ||
|---|---|---|
| GetMessageResponse | ||
 |
||
| Element | Description | |
| message | Contains the response message. If no message is available this string is empty. |
| Fault | ||
|---|---|---|
| GetMessageFault | ||
 |
||
| Element | Description | |
| GetMessageFault | Contains reason message in case of a transfer error. |
Monitoring
The true-Broker web application offers a simple monitoring endpoint which shows the status of all configured clients in a JSON format.
It can be reached at:
http://localhost:8645/TrueBrokerWebAdmin/api/healthcheck/status
The response will be as per the example below:
[
{
"connectionStatus": "CONNECTED",
"lastCheckTimeStamp": "08:00:00 18.07.2025",
"running": true,
"clientName": "TEST_UBS_Lux"
},
{
"connectionStatus": "STOPPED",
"lastCheckTimeStamp": "08:00:00 18.07.2025",
"running": false,
"clientName": "TEST_USB_CH"
}
]